 Etappe

1. Etappe on Android#
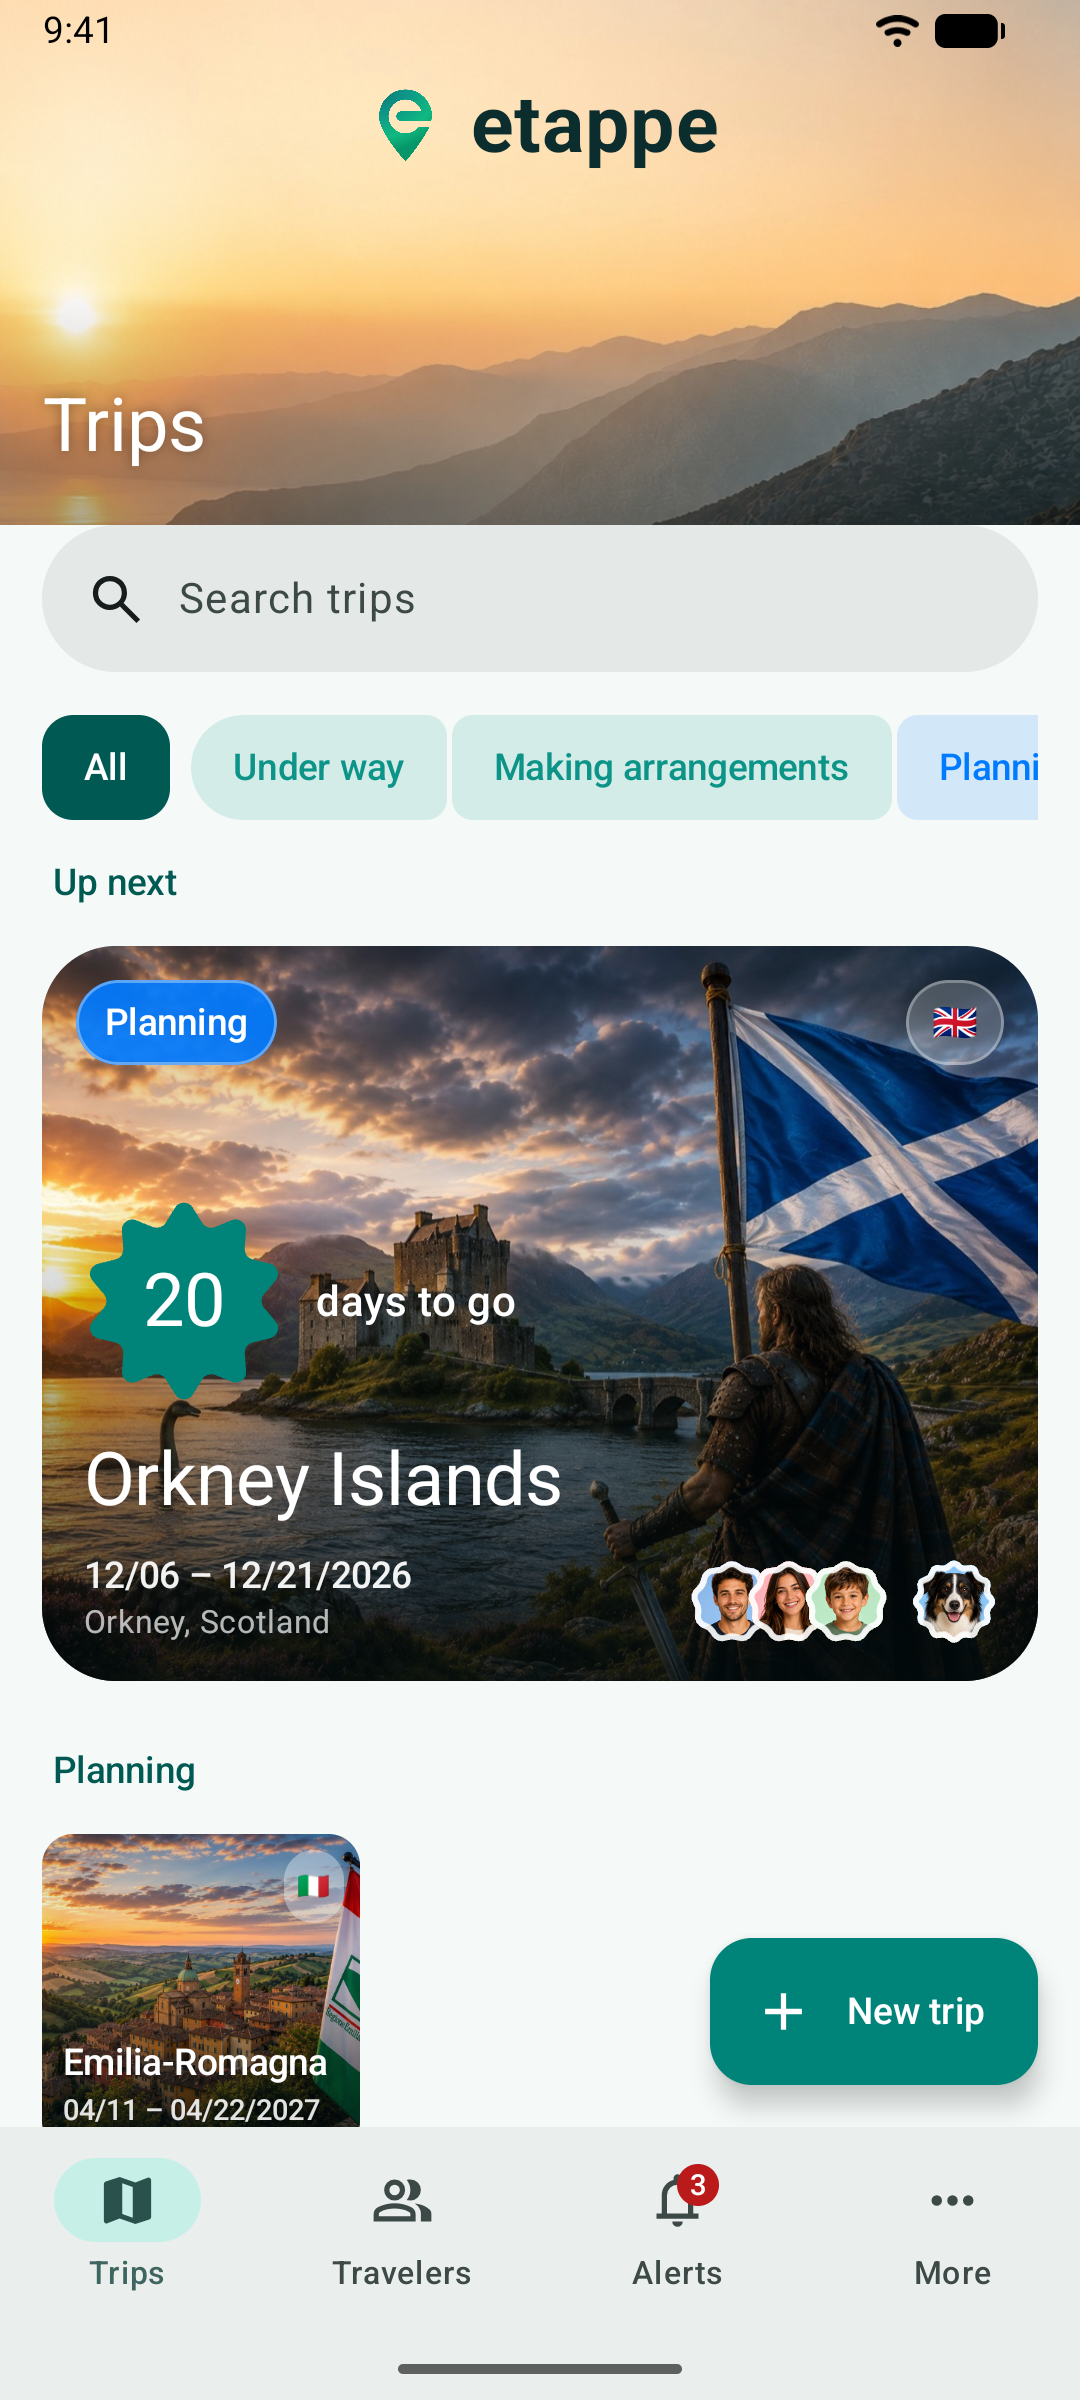
Etappe for Android is an app of its own for Android smartphones. It knows the same trips, accommodations, journeys, people, pets and vehicles as Etappe on iPhone and iPad and calculates budget, deworming windows and alerts the same way. But it works like an Android app: with a navigation bar, floating buttons and the back gesture. This manual only covers what is different on Android. What an accommodation, a sketch or an alert is, is explained in the manual for iPhone and iPad.
1.1 What is different from iPhone and iPad#
- Android-style controls. The navigation bar at the bottom, a button for adding in every list, a toolbar inside a trip – more in The interface and A trip.
- Maps from OpenStreetMap. Instead of Apple Maps, Etappe on Android shows maps from OpenFreeMap; places are found by your device’s location service (Maps and places).
- Purchase through Google Play. Trial and full version run through Google Play (Installing, trial and purchase).
- No sync between devices. Your data stays on the phone. Moving to a new device – including from the iPhone and back – works through the backup (Backup and switching devices).
- What is missing: Apple Watch, quick actions, the overview screen and a few more exist only on iPhone and iPad (Only on iPhone and iPad).
1.2 Requirements#
Etappe runs on Android smartphones with Android 8 or later. The app is available in German, English and French and follows the language of your device; from Android 13 on you can choose a language just for Etappe (Settings).
1.3 Your data#
Etappe has no server and no account. Everything you create stays on your phone. The app only goes online when you trigger it or look at a map: map tiles, place search, country data and curated trips from etappe.app, exchange rates from the European Central Bank. Which data goes where is listed in the app under More → Help → Legal.
2. Installing, trial and purchase#
2.1 Installing#
Etappe is available in the Google Play Store. You don’t need an Etappe account – only your Google account for Google Play.
2.2 The first launch#
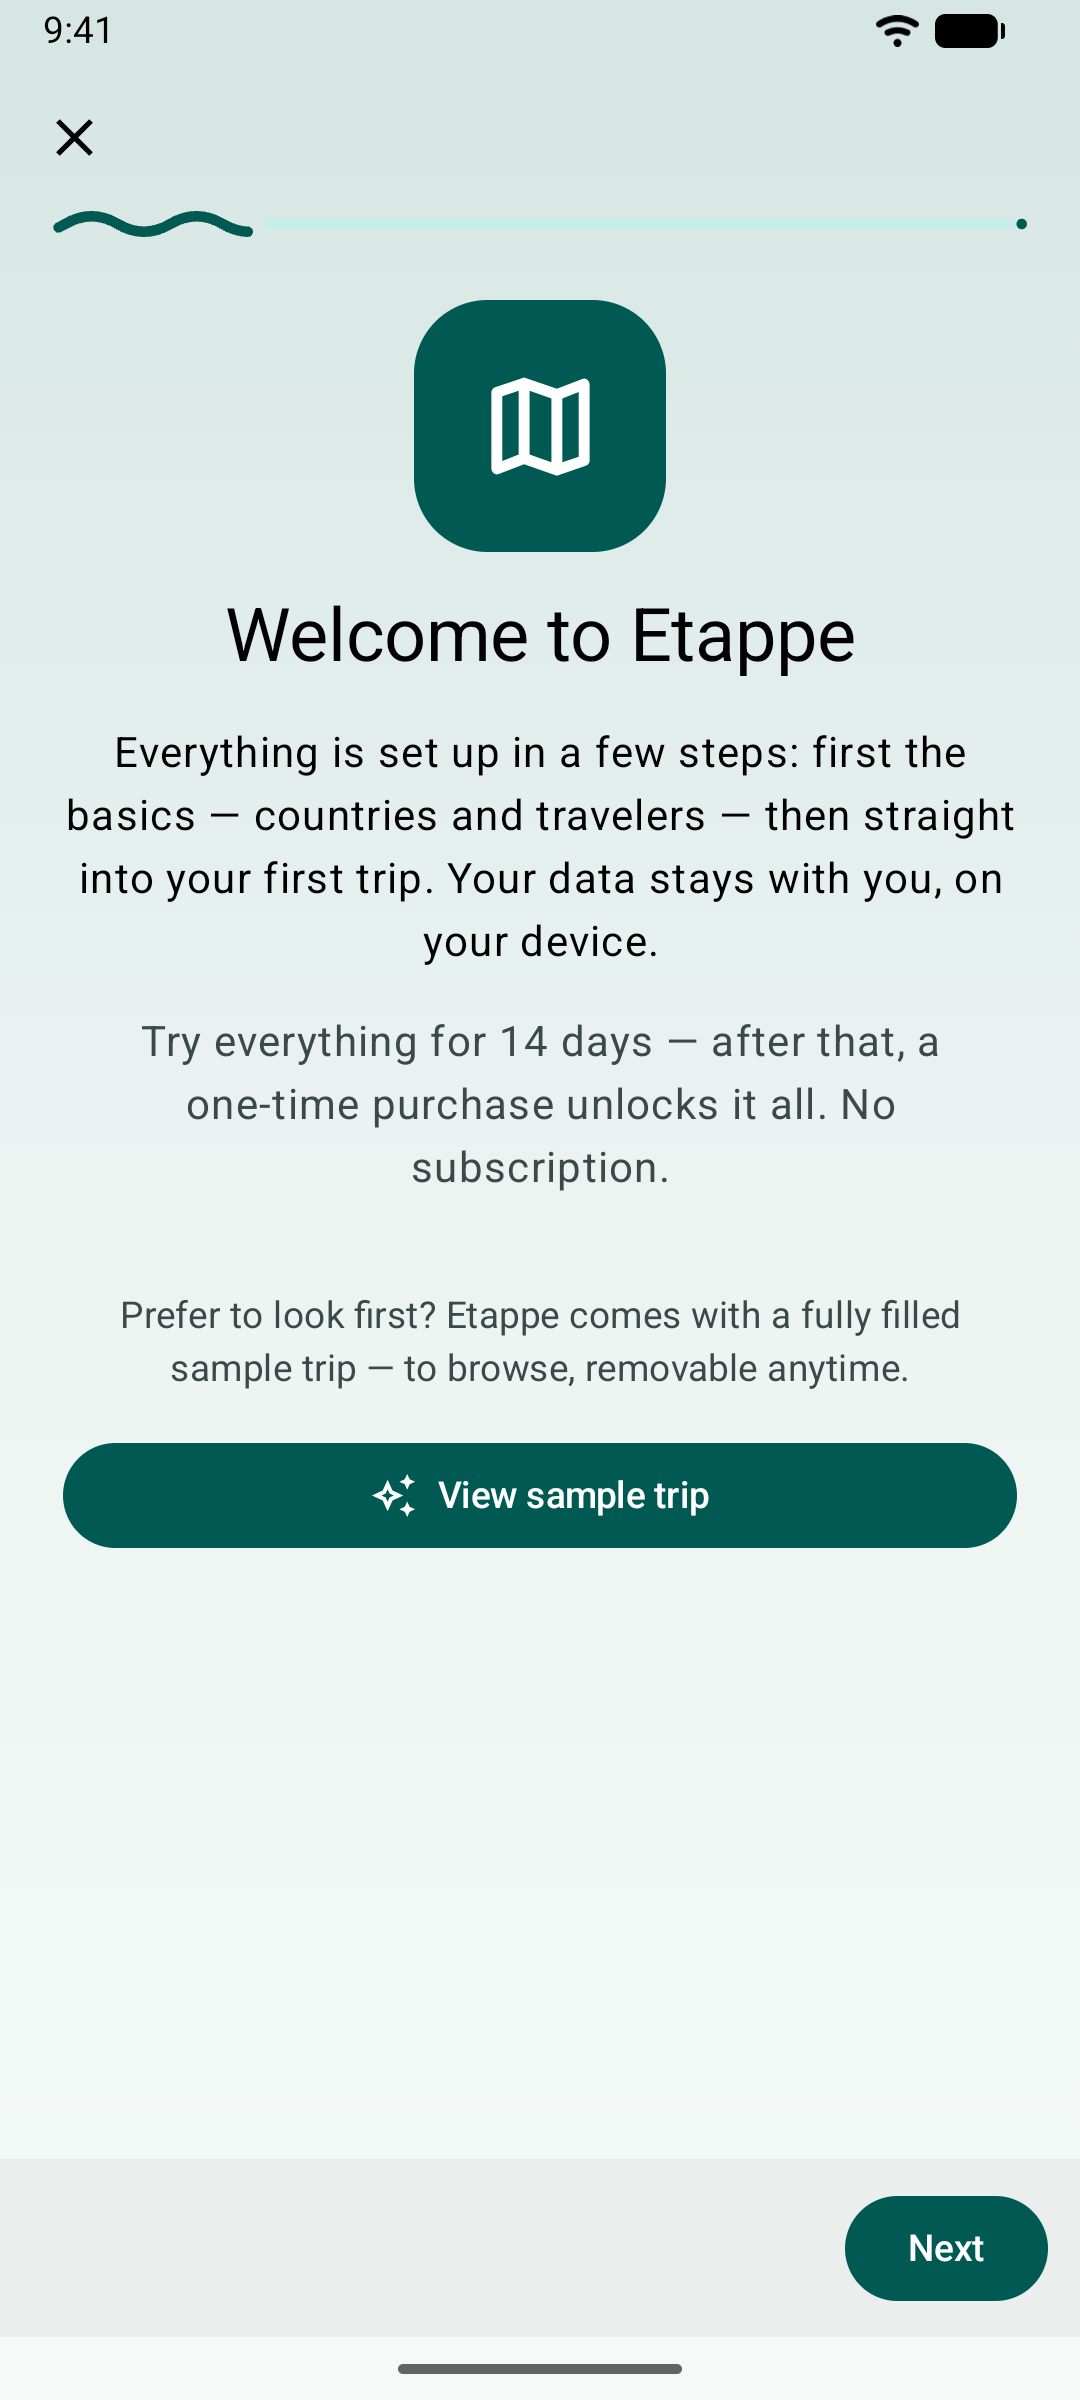
On first launch, an assistant welcomes you. In a few steps it sets up the basics – countries and travelers – and then takes you to your first trip. If you’d rather look around first, tap View sample trip: Etappe then creates a fully filled trip that you can remove at any time. More in the main manual under Installation and first launch.
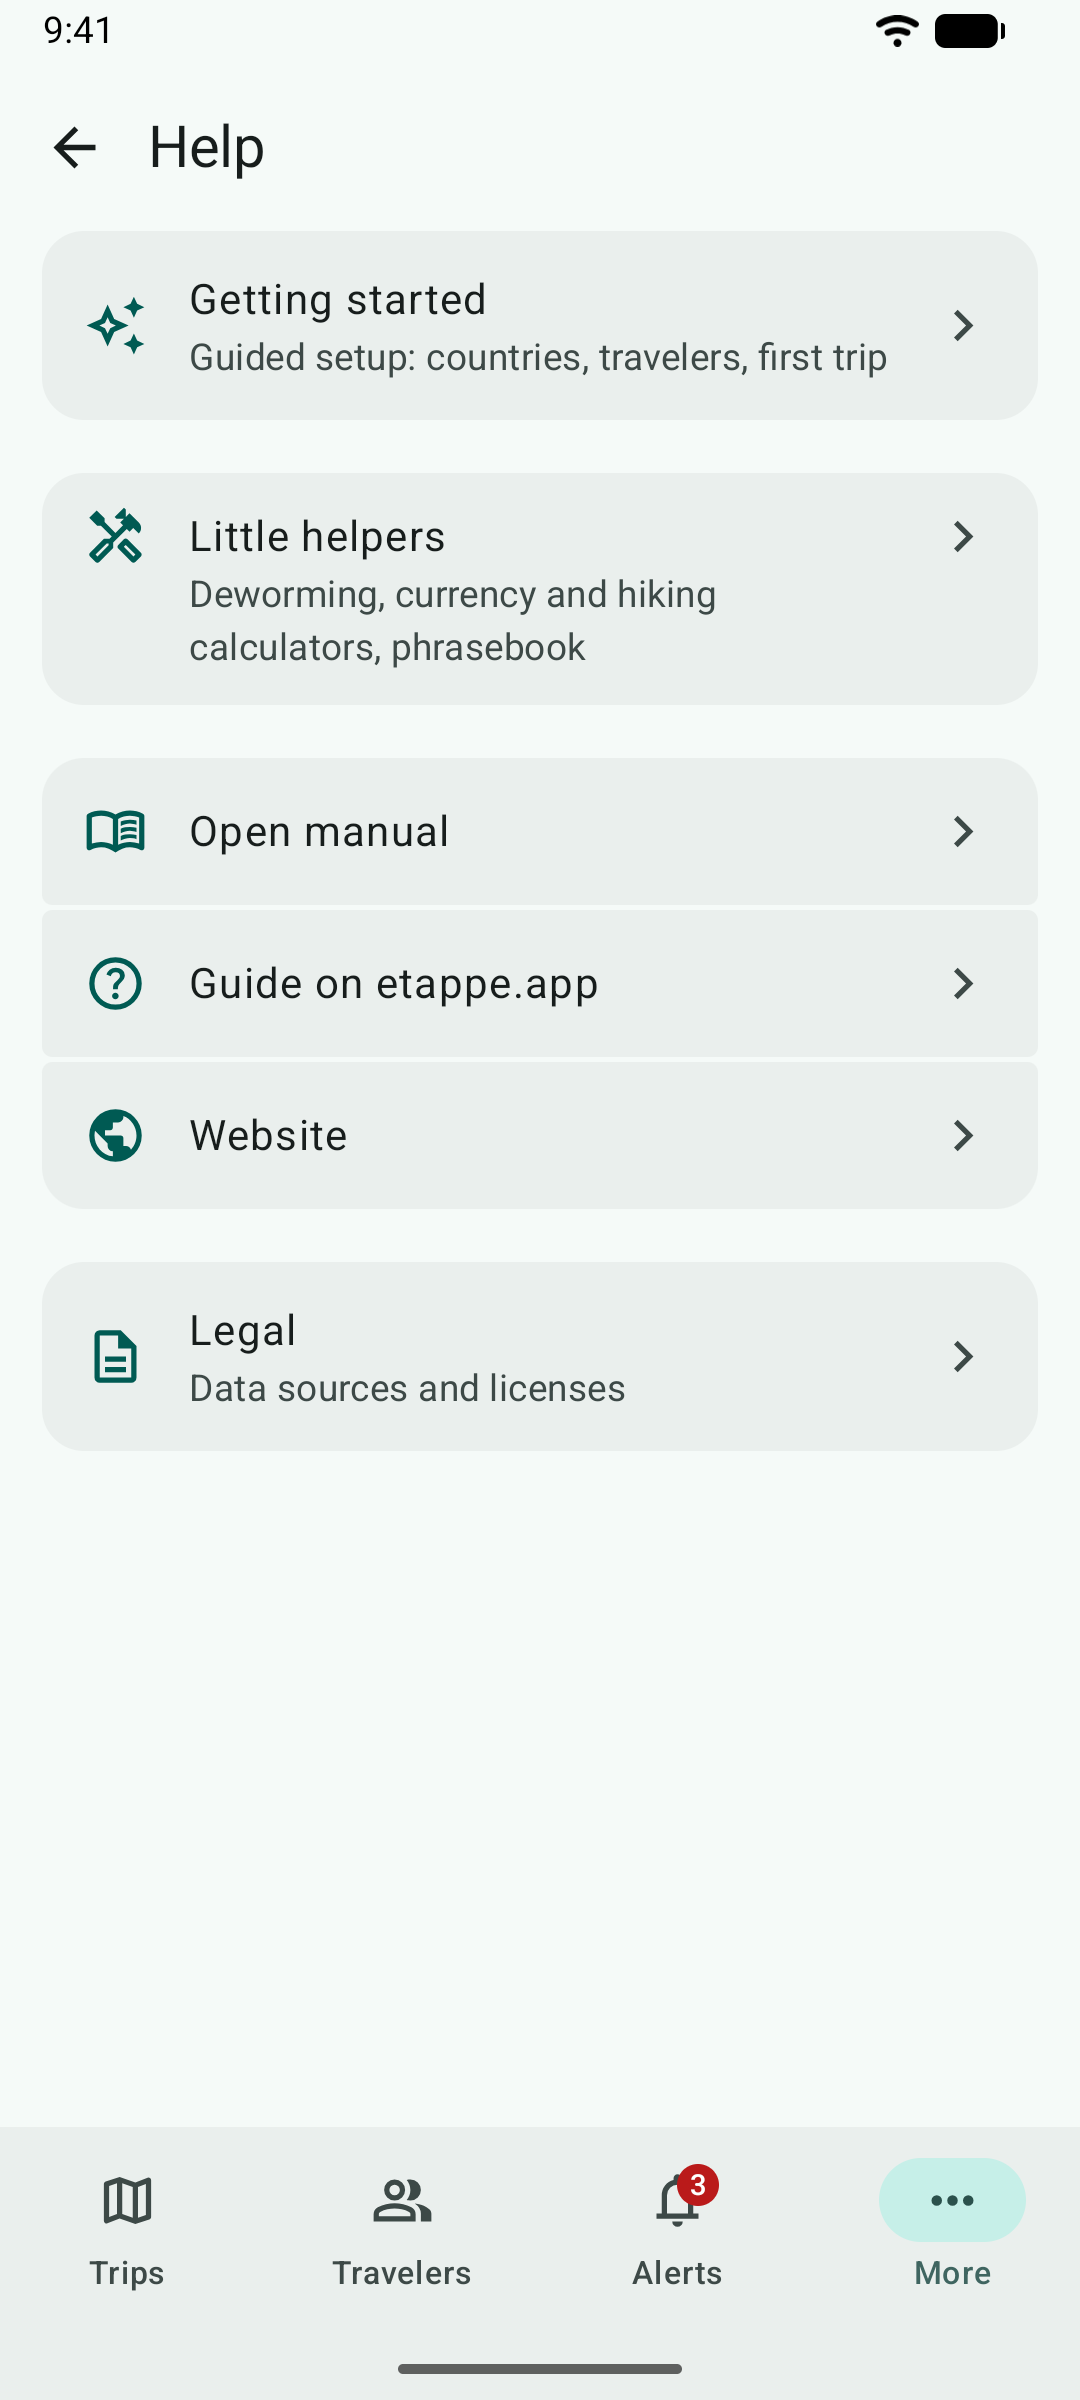
You can bring the assistant back later under More → Help → Getting started.
2.3 Trial#
From the first launch, you can use Etappe with all features for 14 days. After that, viewing, sorting, archiving, deleting and the backup stay free; only adding and changing need the full version – just like on iPhone and iPad (Trial and full version).
Unlike the iPhone, Android does not remember the trial across a reinstall: if you delete the app and install it again, the trial starts over – with no data.
2.4 Full version#
The full version is a one-time purchase through Google Play, not a subscription. You buy it under More → Settings → Full version or wherever Etappe points you to it after the trial. You pay with the payment methods of your Google account; Etappe never sees payment details.
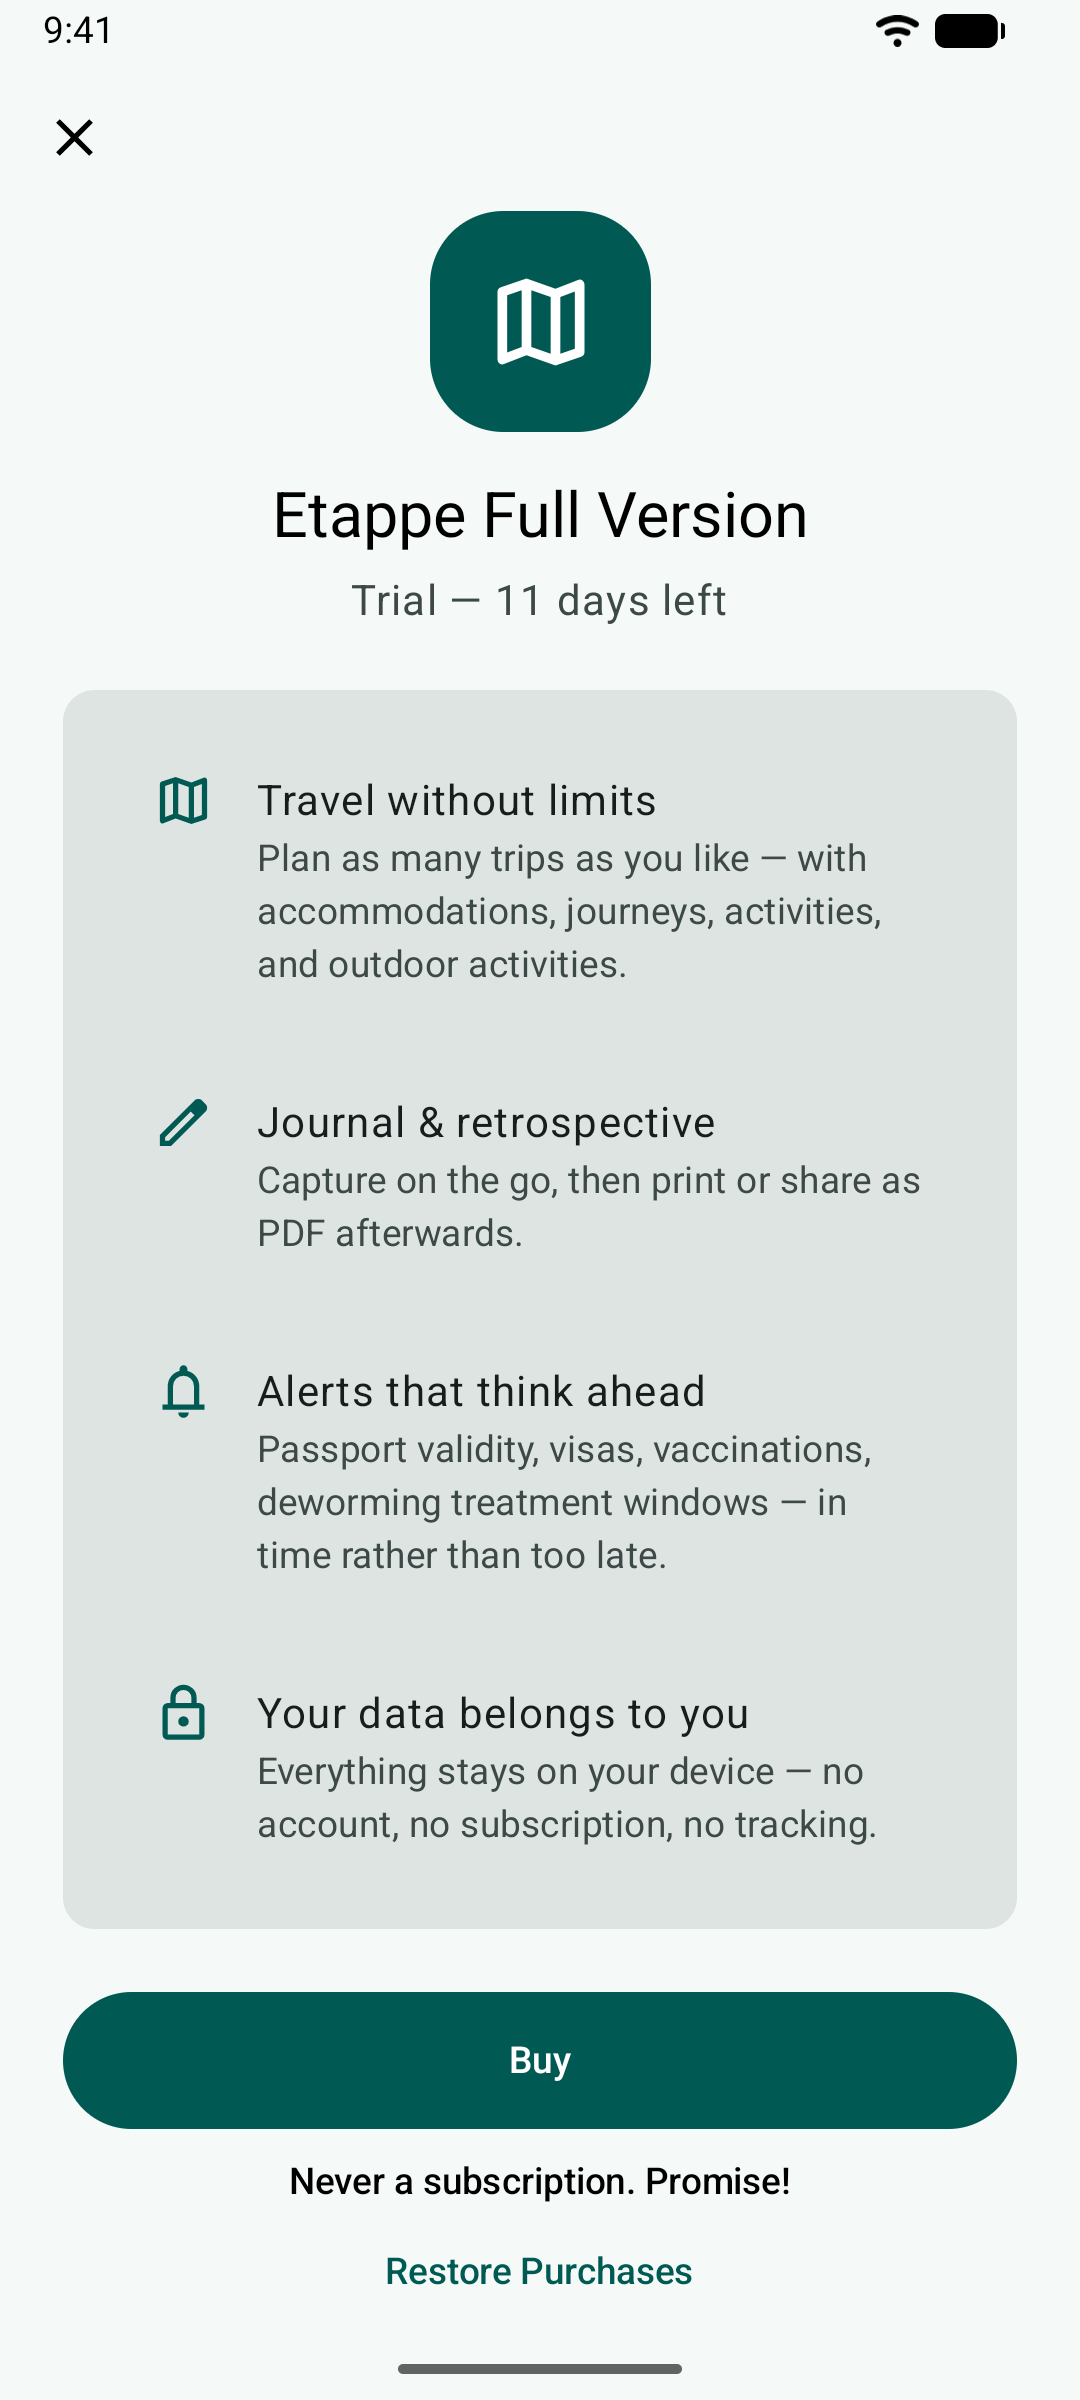
The purchase belongs to your Google account. On a new phone with the same account, tap Restore Purchases. A purchase on the iPhone does not count on Android and vice versa – the App Store and Google Play are separate stores.
If Google Play can’t be reached at the moment, Etappe tells you after a few seconds that the purchase isn’t possible right now. Try again later.
3. The interface#
3.1 The navigation bar#
At the bottom of the screen are the app’s four destinations – like the tab bar on the iPhone:
| Destination | What you find there |
|---|---|
| Trips | All trips, the current or next one at the top, the rest by status; search and filters |
| Travelers | People and pets with their IDs, vaccinations and medications |
| Alerts | Everything that needs attention; the number on the icon counts open alerts (Alerts) |
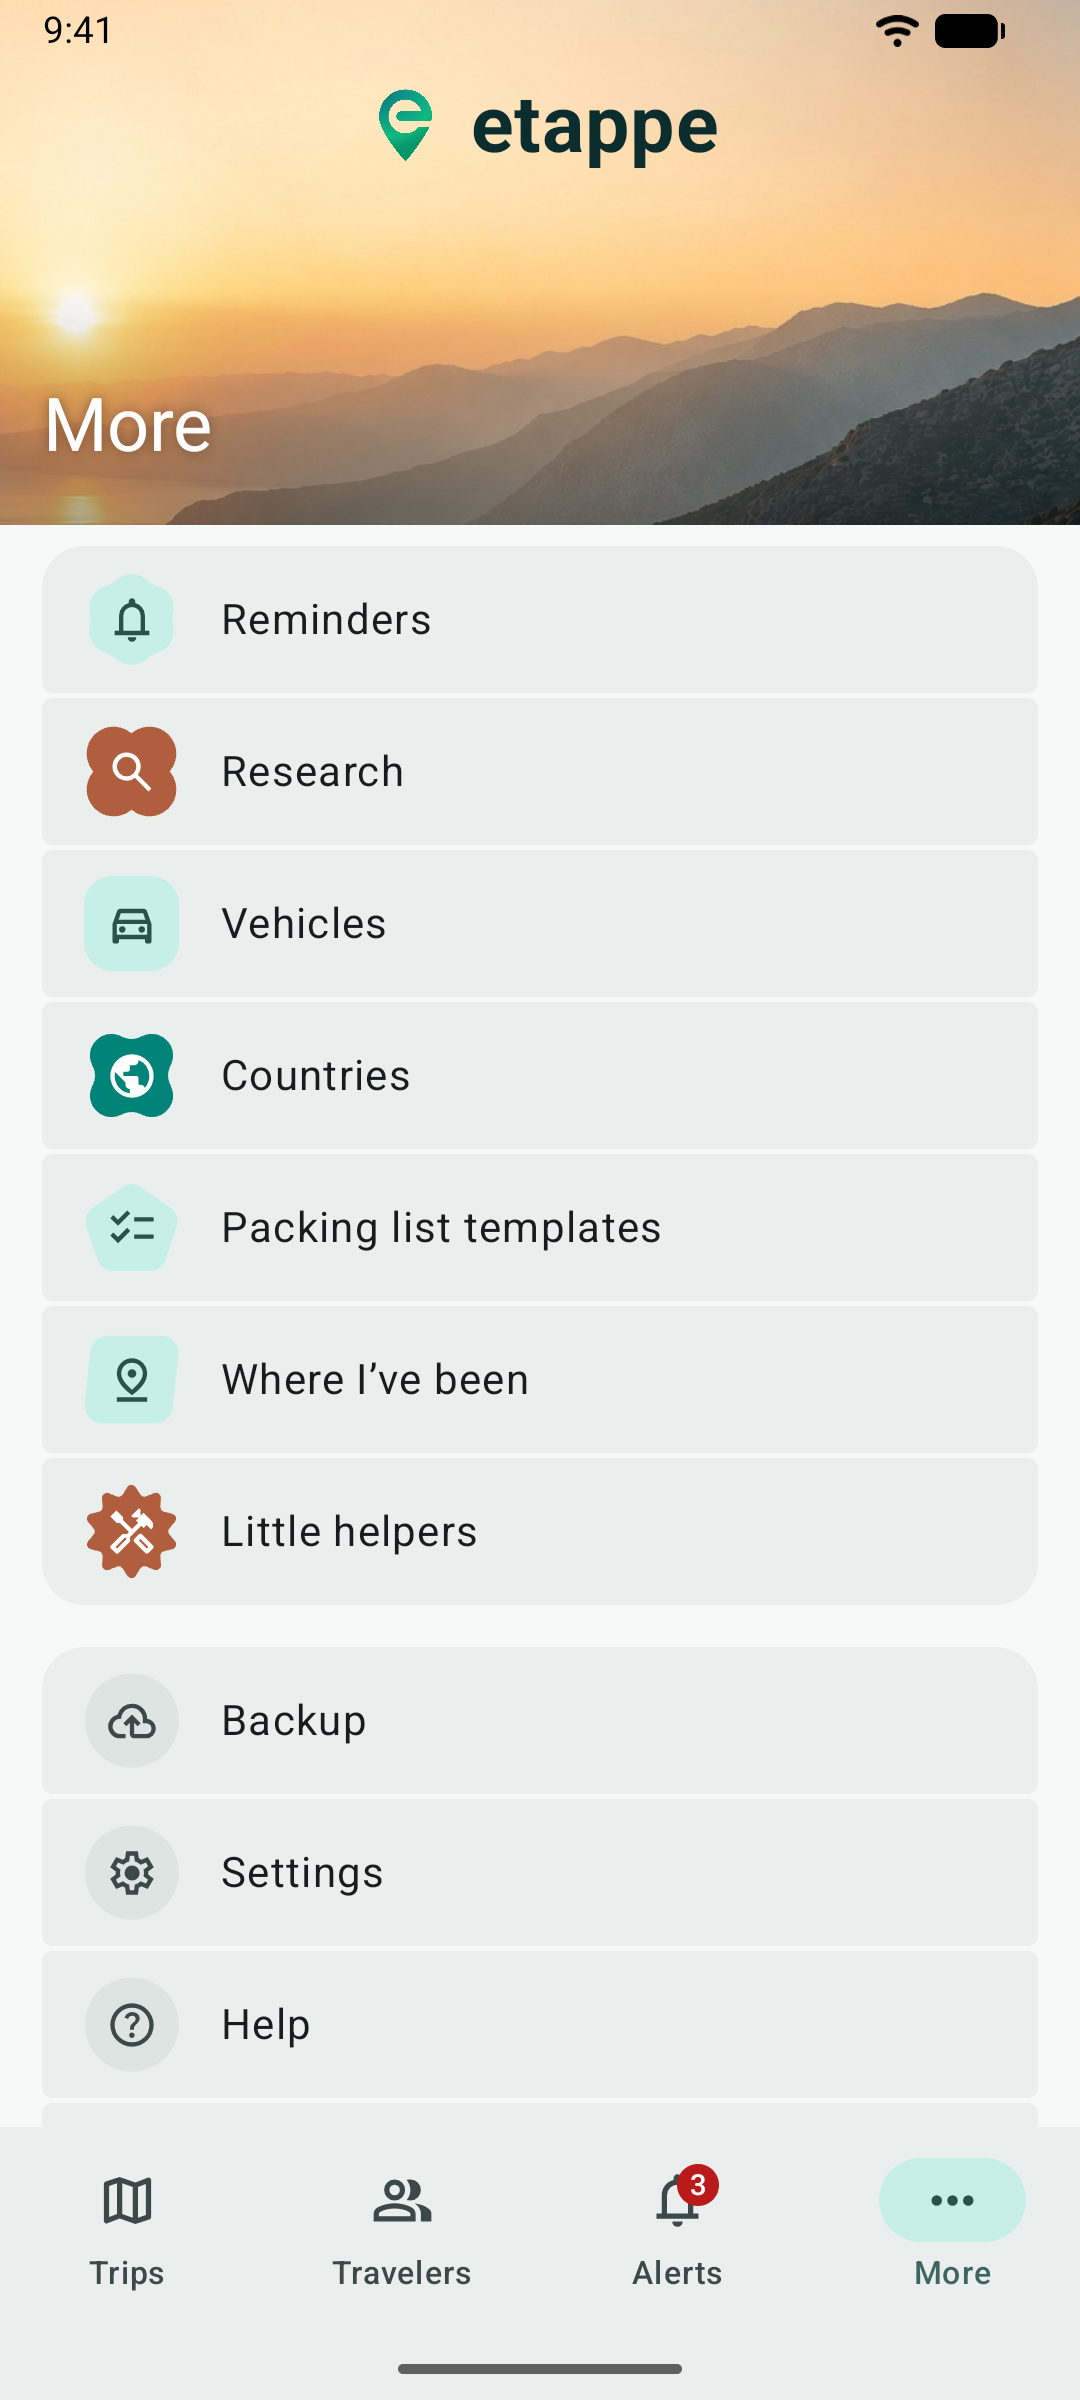
| More | Reminders, research, vehicles, countries, templates, little helpers, backup, settings, help |
Tapping the active destination again takes you back to its start.
3.2 Adding#
At the bottom right is the button for adding. In the list of trips it is called New trip and offers three ways: Add with assistant, Add manually and Load from Etappe (curated trips from etappe.app).
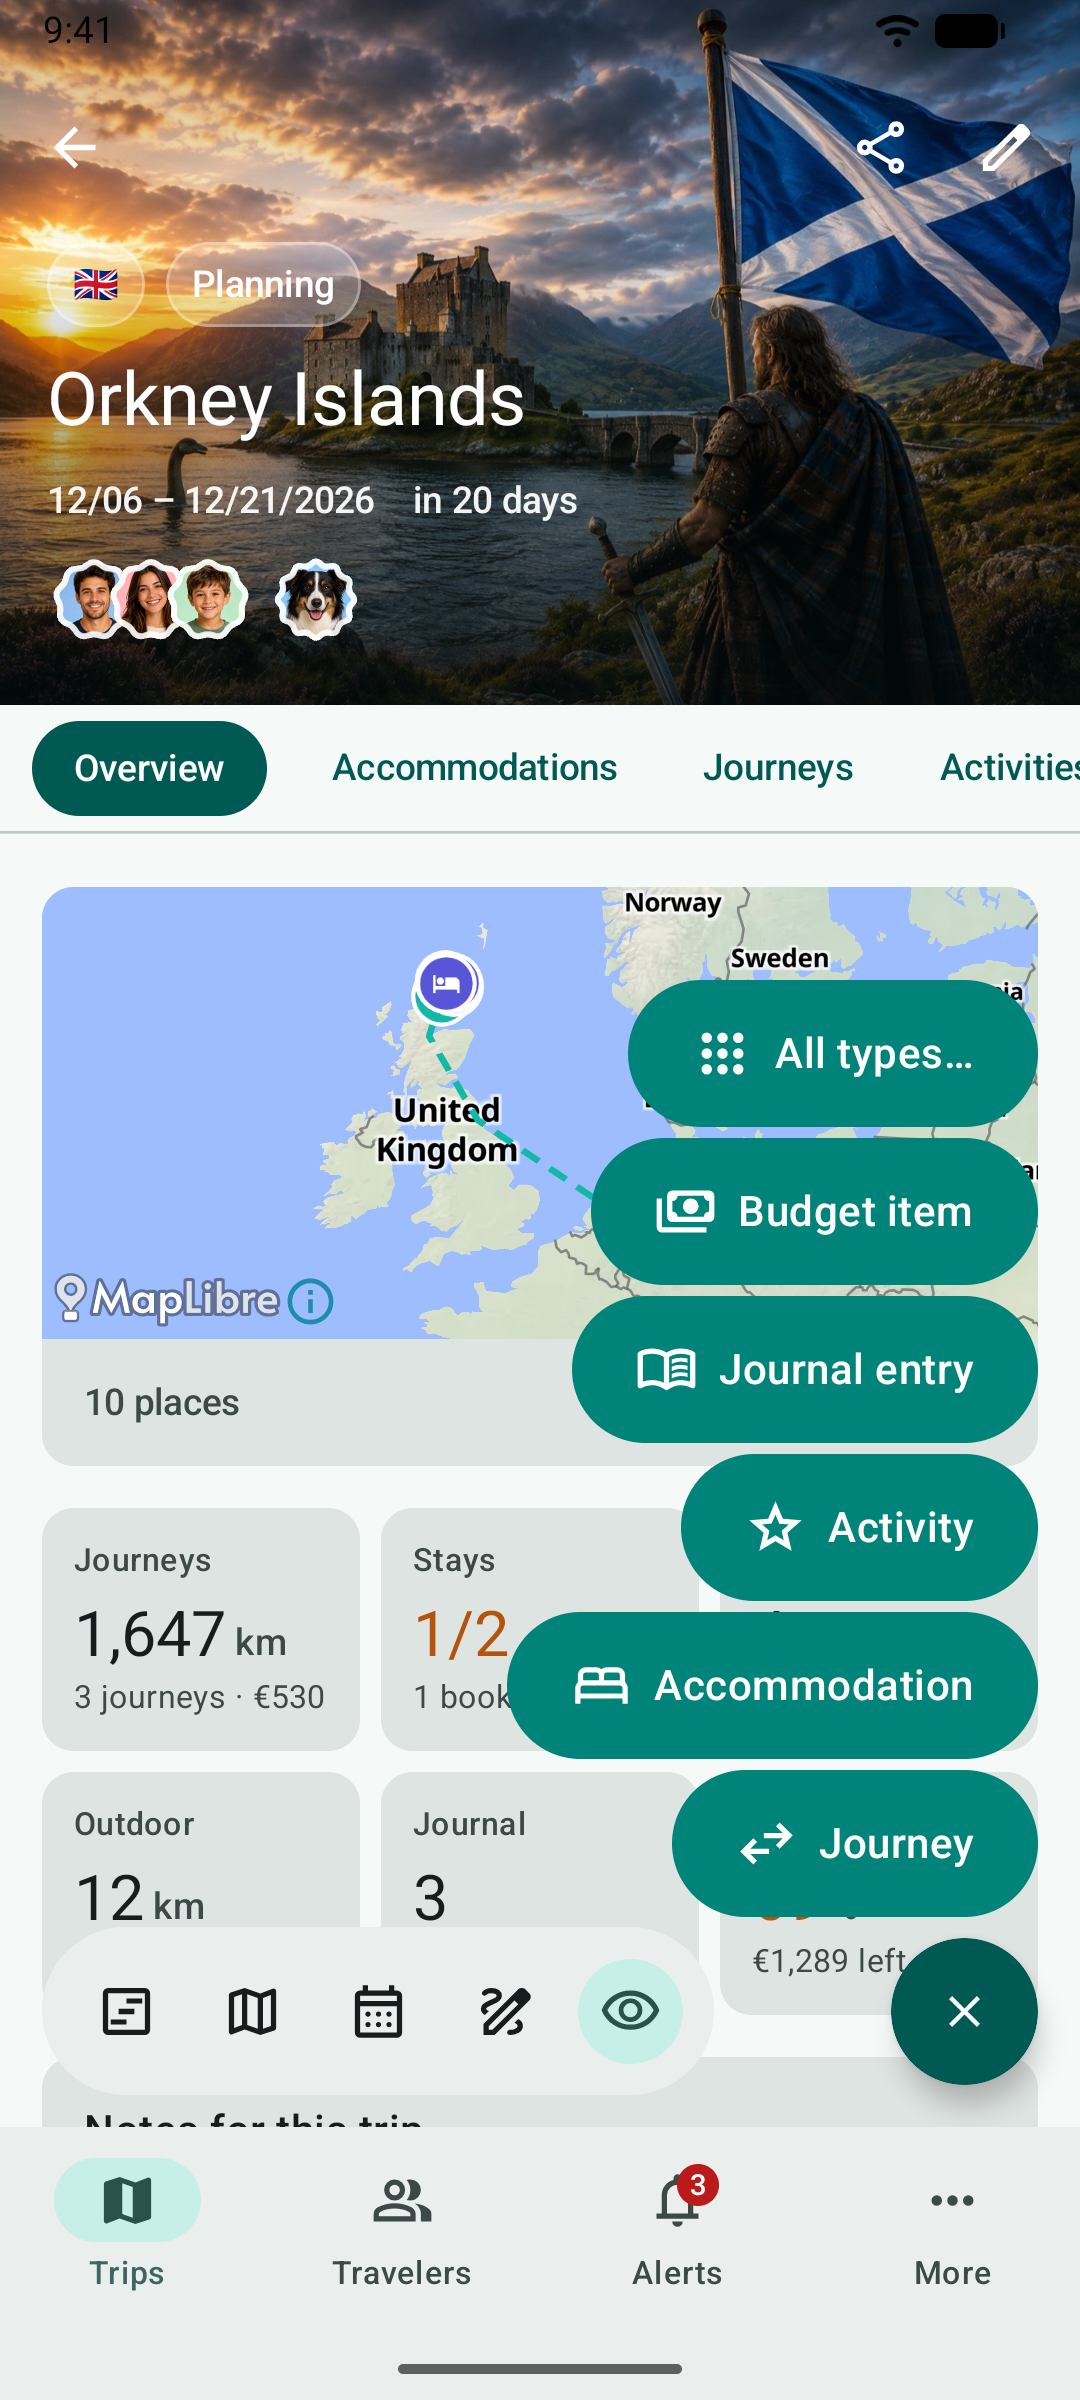
Inside a trip, the button opens the New menu: the most common types sit right above it – those of the section you are in first – and at the top All types… with everything you can add to a trip.
3.3 Back, swipe, long press#
- Back works with the back gesture or the arrow at the top left. In a form, back means “Cancel”: only Save at the top right saves.
- Swiping left on a row deletes it – after a question that tells you what will be deleted along with it.
- Long press opens more commands on entries and documents, such as “Mark as booking receipt”.
3.4 More#
More holds everything that doesn’t belong to a single trip: reminders and research across all trips, vehicles, countries, packing list templates, “Where I’ve been”, the little helpers, backup and settings, plus Help and About this app with version, links and licenses.
3.5 Display#
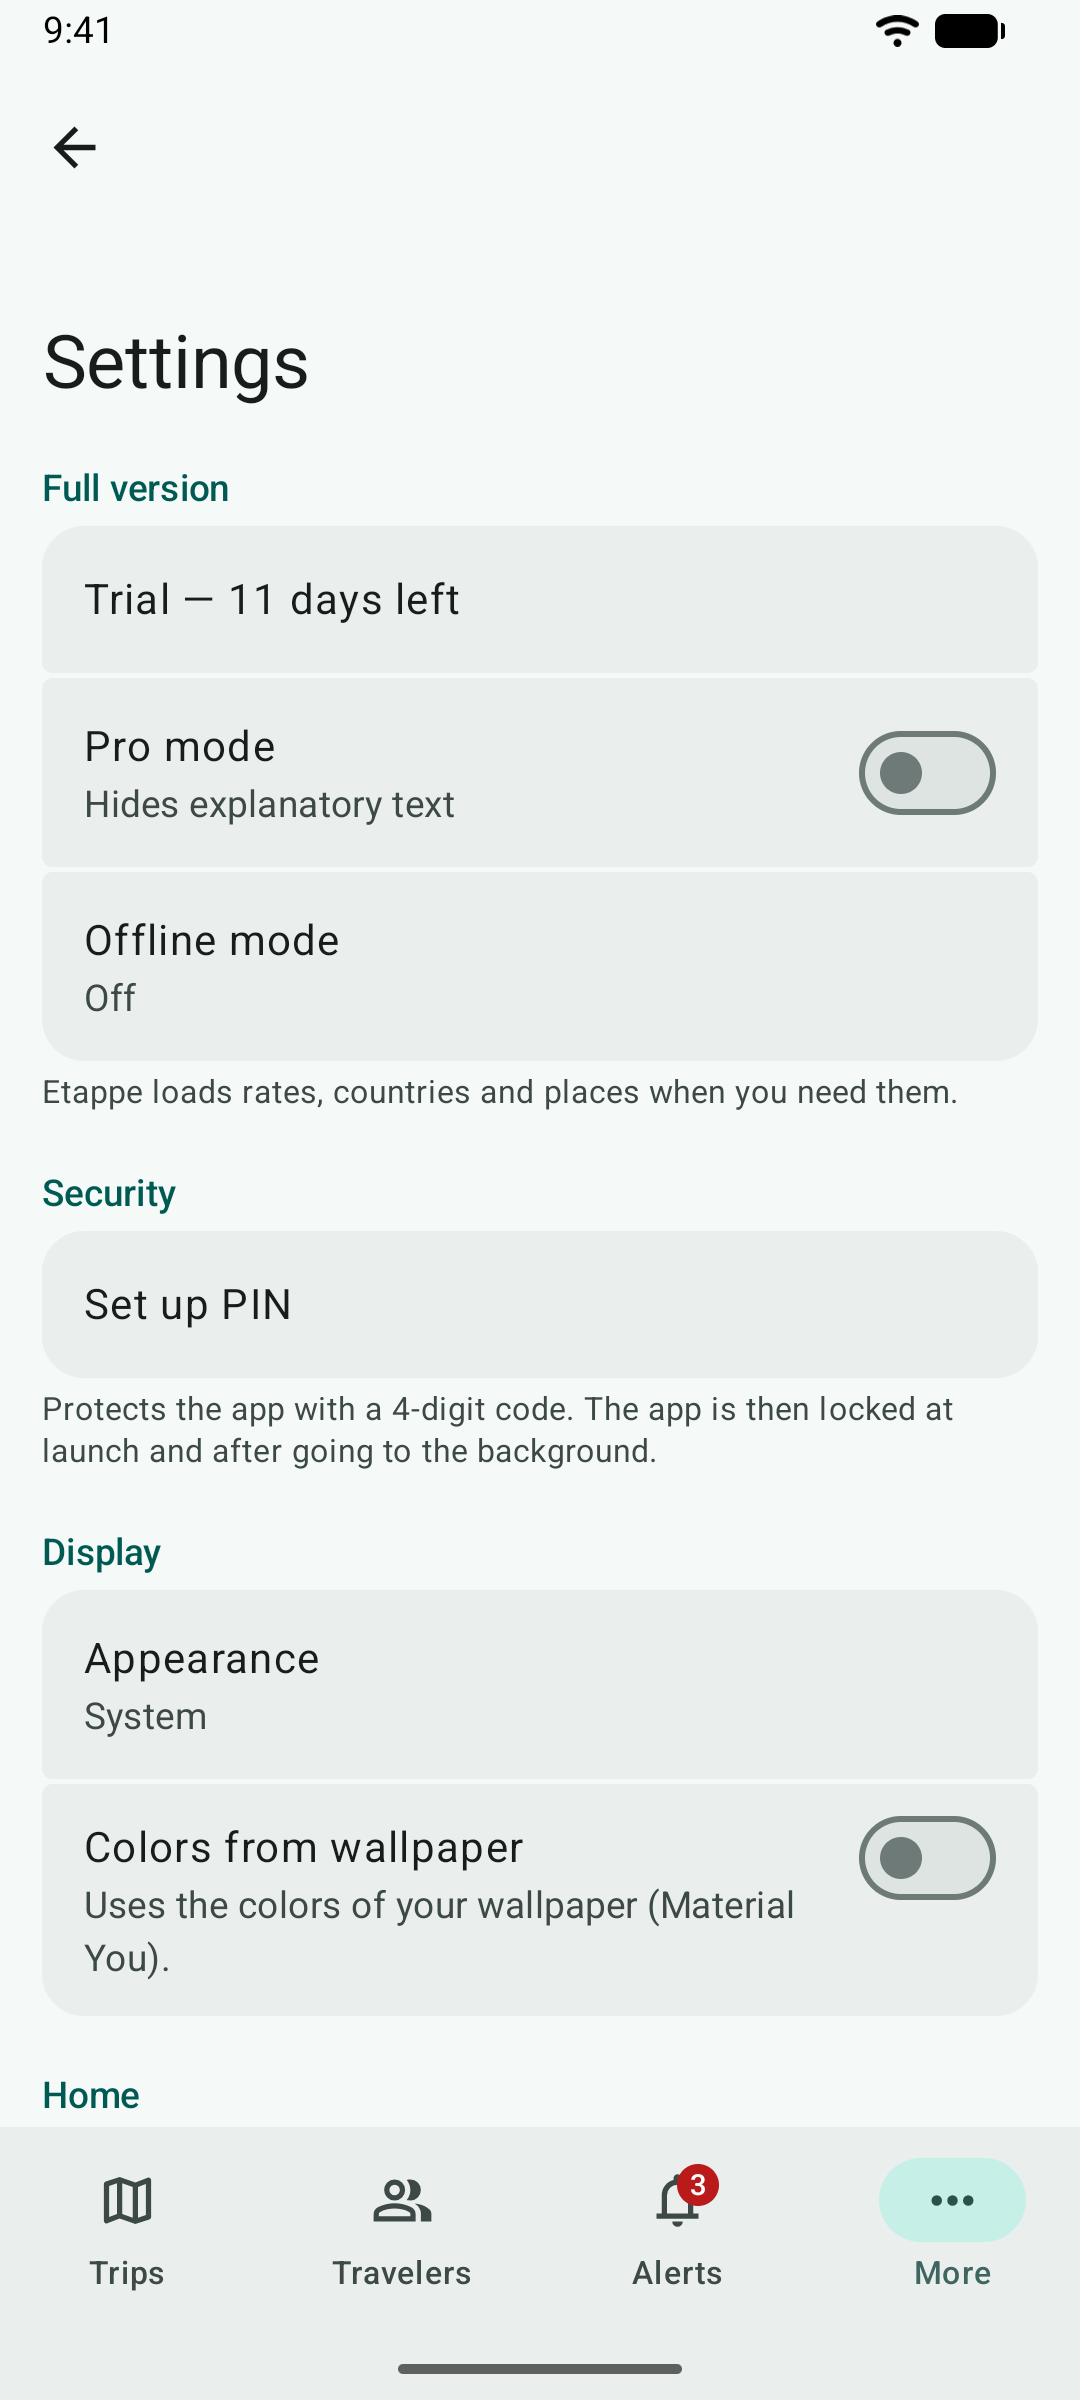
Etappe follows the light or dark appearance of your phone; under More → Settings → Appearance you can fix it. With Colors from wallpaper the app takes on the colors of your wallpaper (Material You). Pro mode hides the explanatory texts below the form fields.
4. A trip#
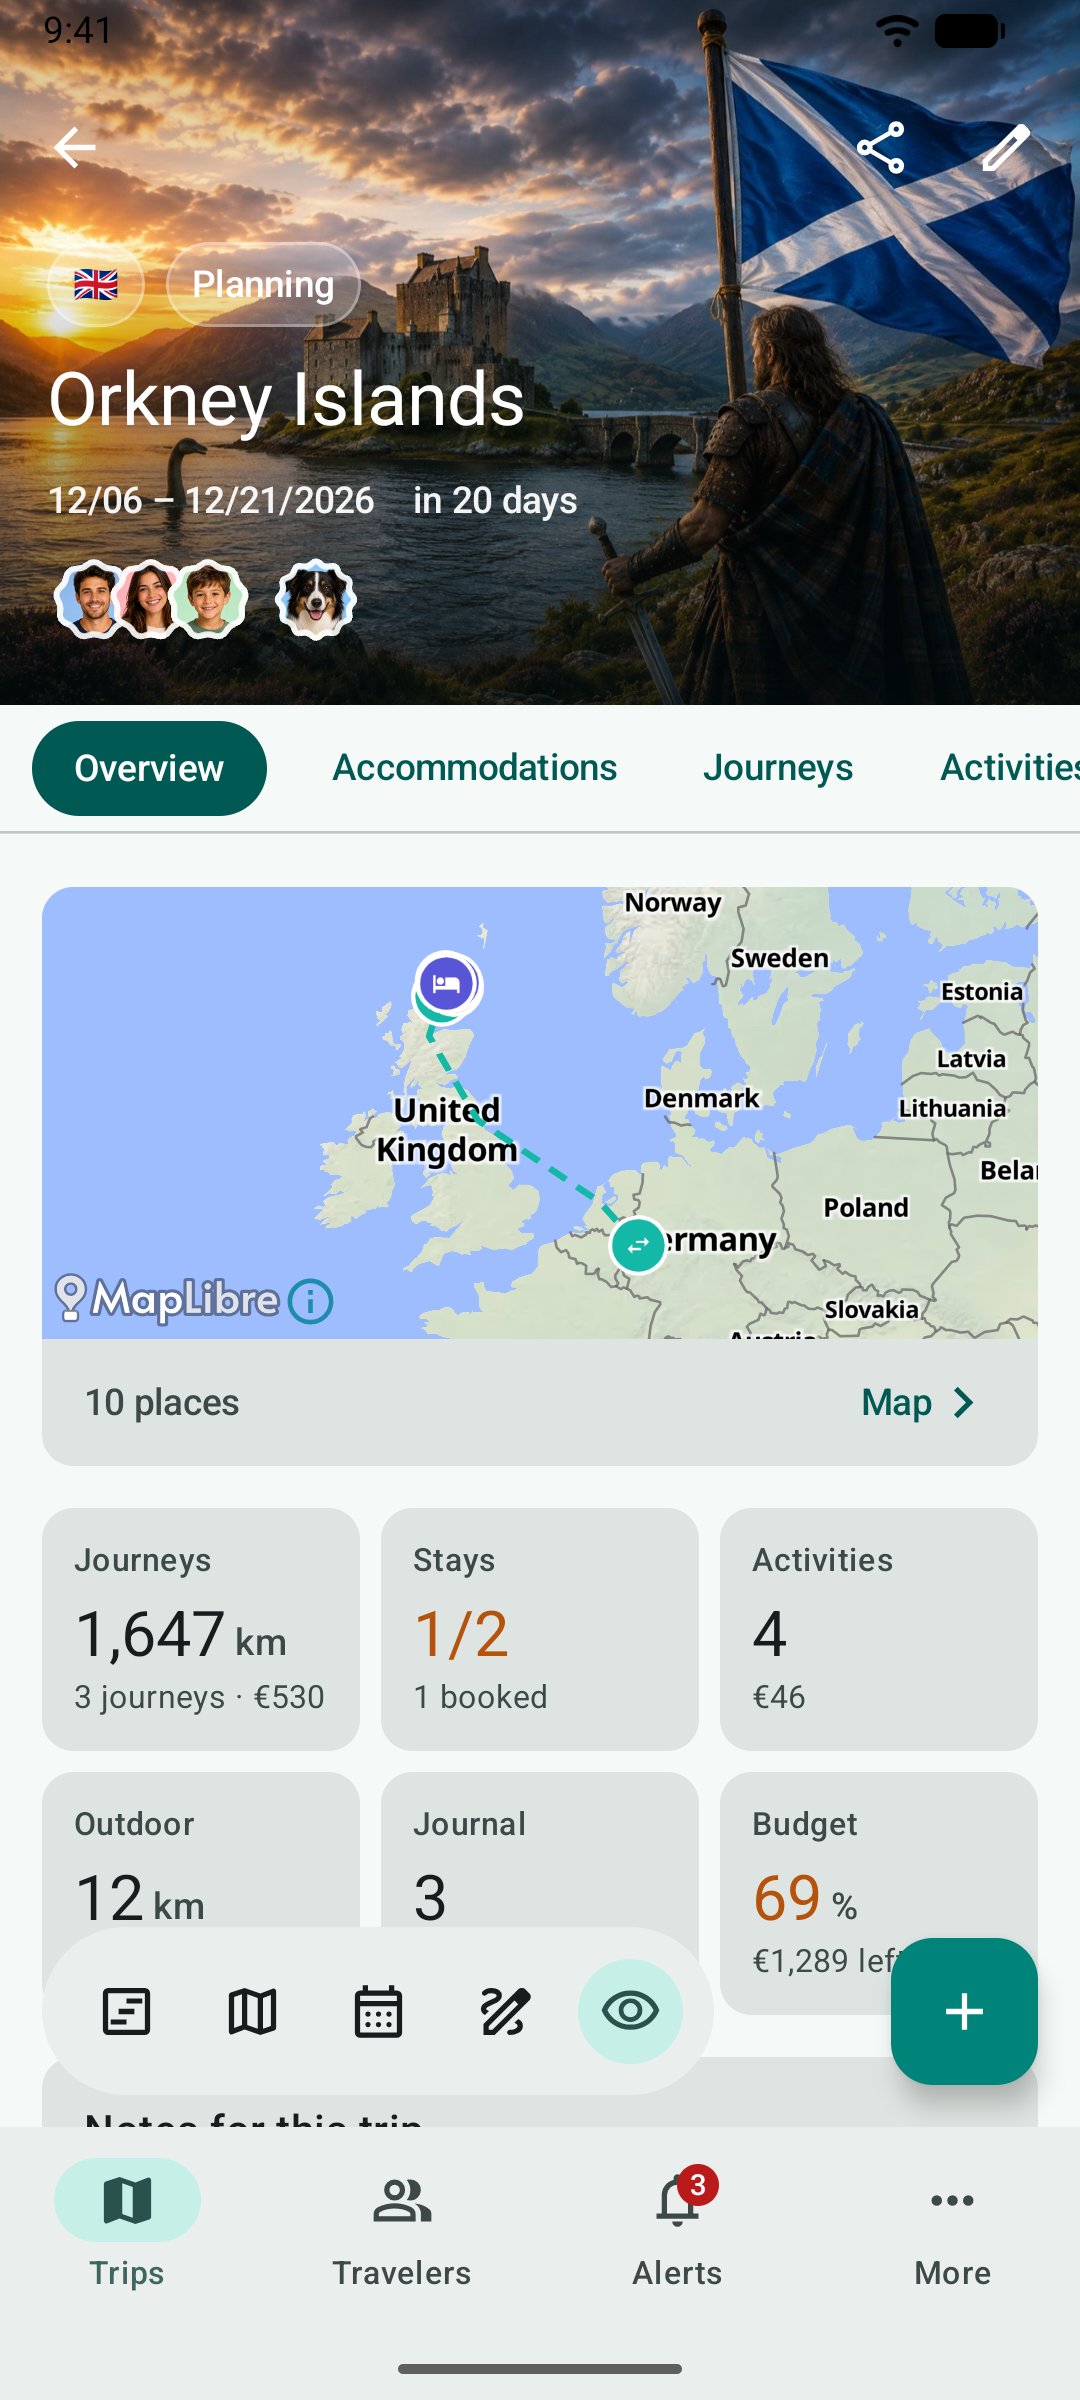
When you tap a trip, its overview opens: at the top the trip’s picture with status, dates and travelers, below it a small map, tiles for journeys, accommodations, activities, outdoor activities, journal and budget, notes from the alerts and the next steps. What each section contains is described in the main manual starting with Creating a trip.
4.1 Tabs#
Below the picture are the tabs: Overview fixed on the left, next to it the sections to swipe through – accommodations, journeys, activities, outdoor activities, budget, journal, packing list, to-dos, checklist, reminders, research and documents. When you scroll down, the tabs stay at the top and the trip’s title moves into the bar.
At the top right are Share (Sharing and exporting) and Edit. Tapping the flags shows the trip’s countries; tapping the travelers takes you to Travelers.
4.2 The toolbar#
The toolbar floats at the bottom left. It opens the views that need the whole screen:
| Icon | View | In the main manual |
|---|---|---|
| Timeline | Today – the day with a time column in local time | Today |
| Map | The trip’s map (Maps and places) | Map |
| Calendar | Agenda of all days and day view | Calendar and day view |
| Pen | The sketch | Sketch |
| Eye | The Sections sheet | – |
When you scroll down, the toolbar makes room and comes back when you scroll up.
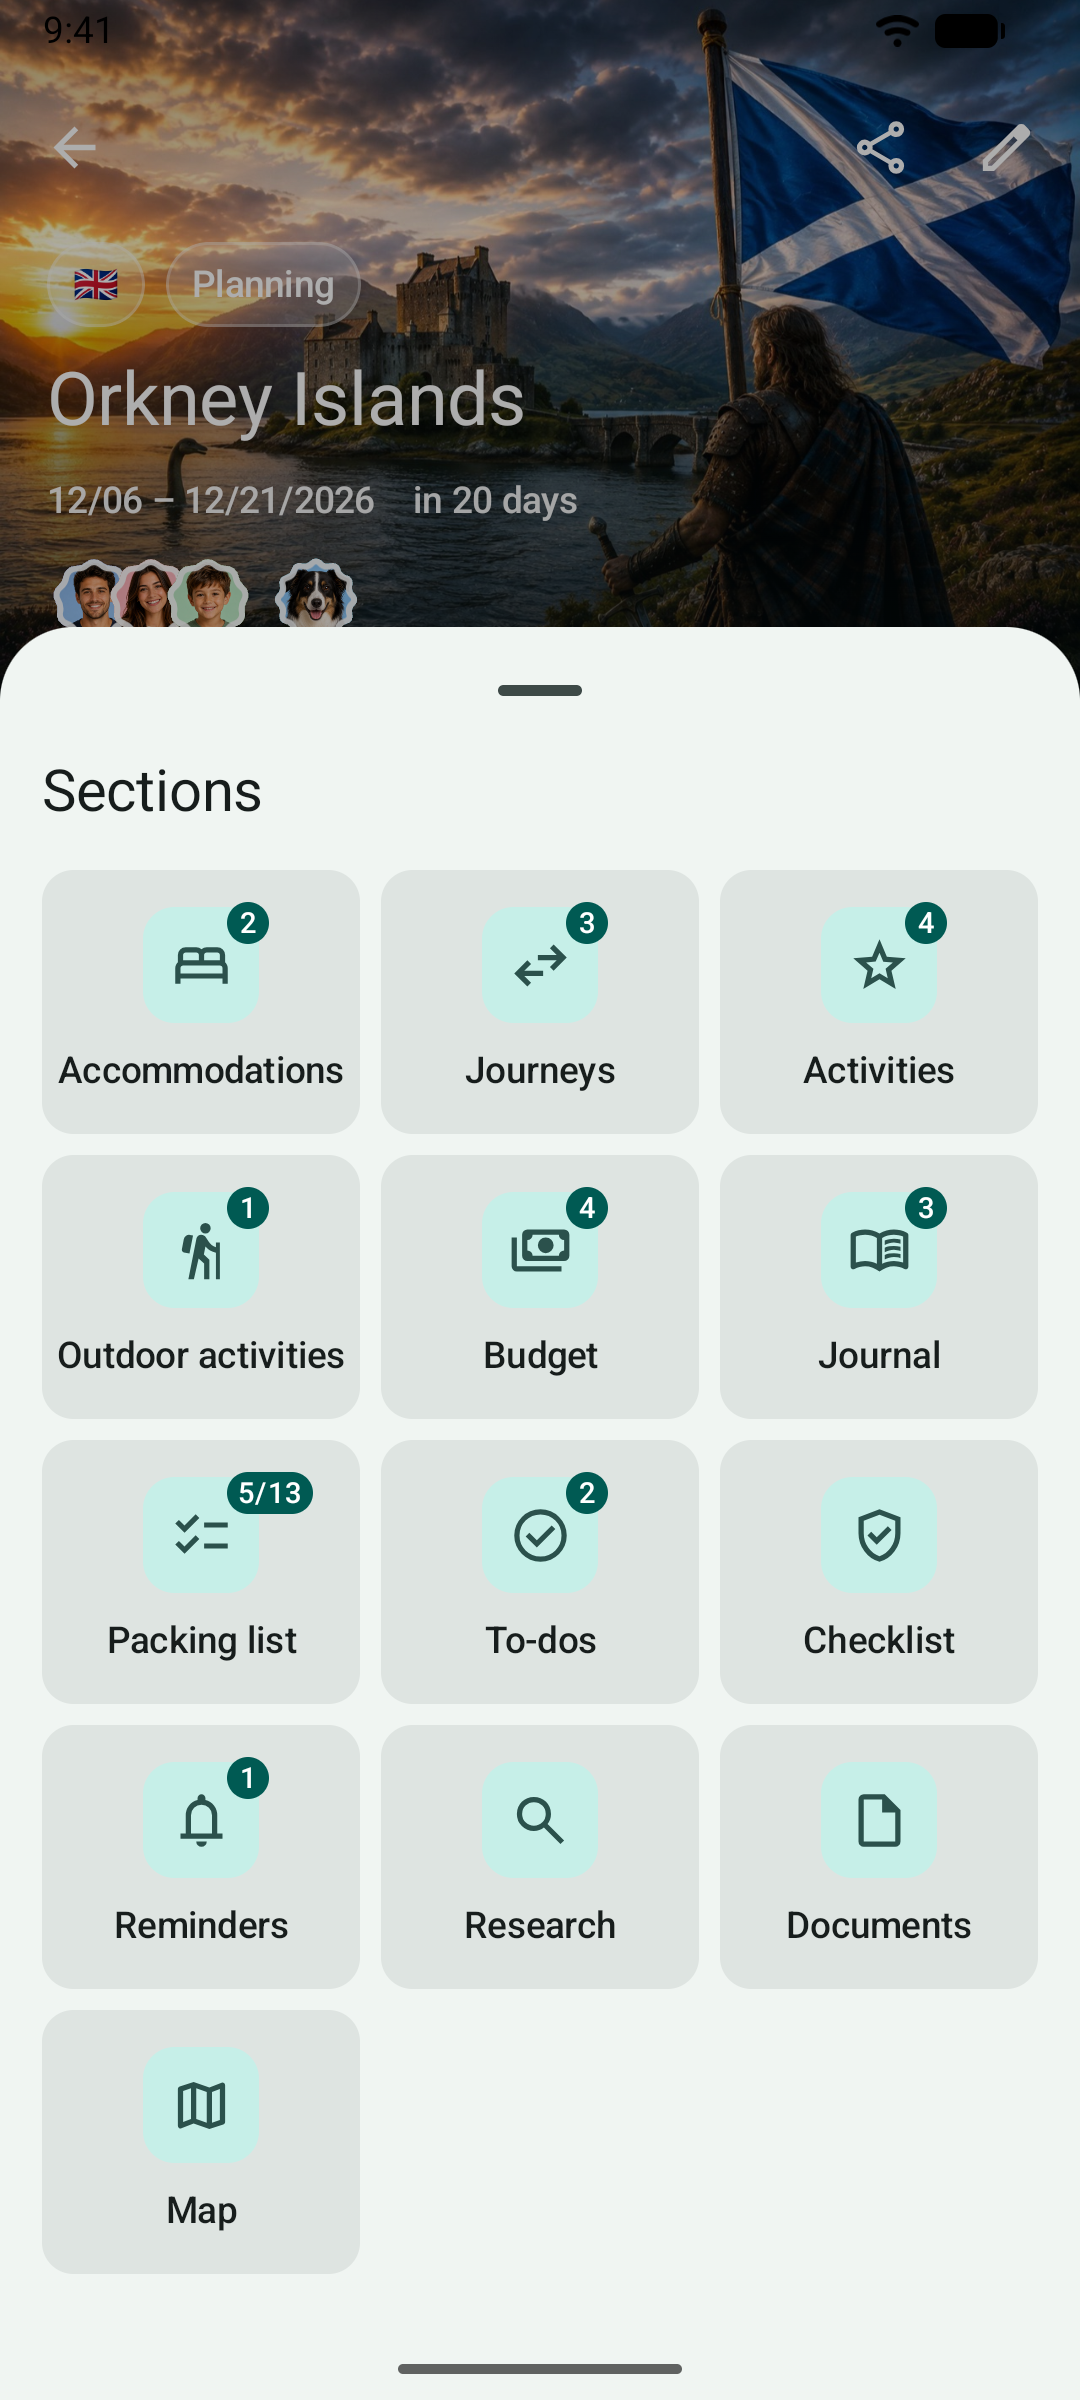
4.3 The Sections sheet#
The eye shows all sections of the trip at a glance, each with the number of its entries – for the packing list, for example, “5/13” for five of thirteen packed. A tap opens the section.
4.4 Calendar and sketch#
In the calendar, every entry has a menu with Edit, Move to …, 30 min longer, 30 min shorter and Delete. In the sketch, you drag blocks by the handle on the right to another place; a block’s menu duplicates it. Next to the date of a day you set its day theme.
4.5 Duplicating a journey or creating the return leg#
Press and hold a journey in Journeys – or tap the menu at the top right of a journey’s details – and you find Duplicate and Create return leg. A sheet asks for the departure: when duplicating, the original’s departure is preset; for the return leg, the last day of the trip at the same time; you can also go without a date. The return leg swaps start and destination and reverses the waypoints. Booking number, receipts, budget items and recorded routes stay with the original; the new journey is set to “Planning”. More in the main manual under Journeys.
5. Maps and places#
5.1 Where the maps come from#
On Android, Etappe shows maps from OpenFreeMap with data from OpenStreetMap, rendered with MapLibre. You don’t need an account or a key for it. When a map is shown, the phone loads the tiles it needs; the visible map area and your IP address go to OpenFreeMap. Etappe keeps tiles it has loaded in a cache, so areas you have already looked at also appear offline.
5.2 A trip’s map#
The map shows all places of the trip as pins in the color of their type, journeys as lines – planned ones dashed, recorded ones solid – and your home.
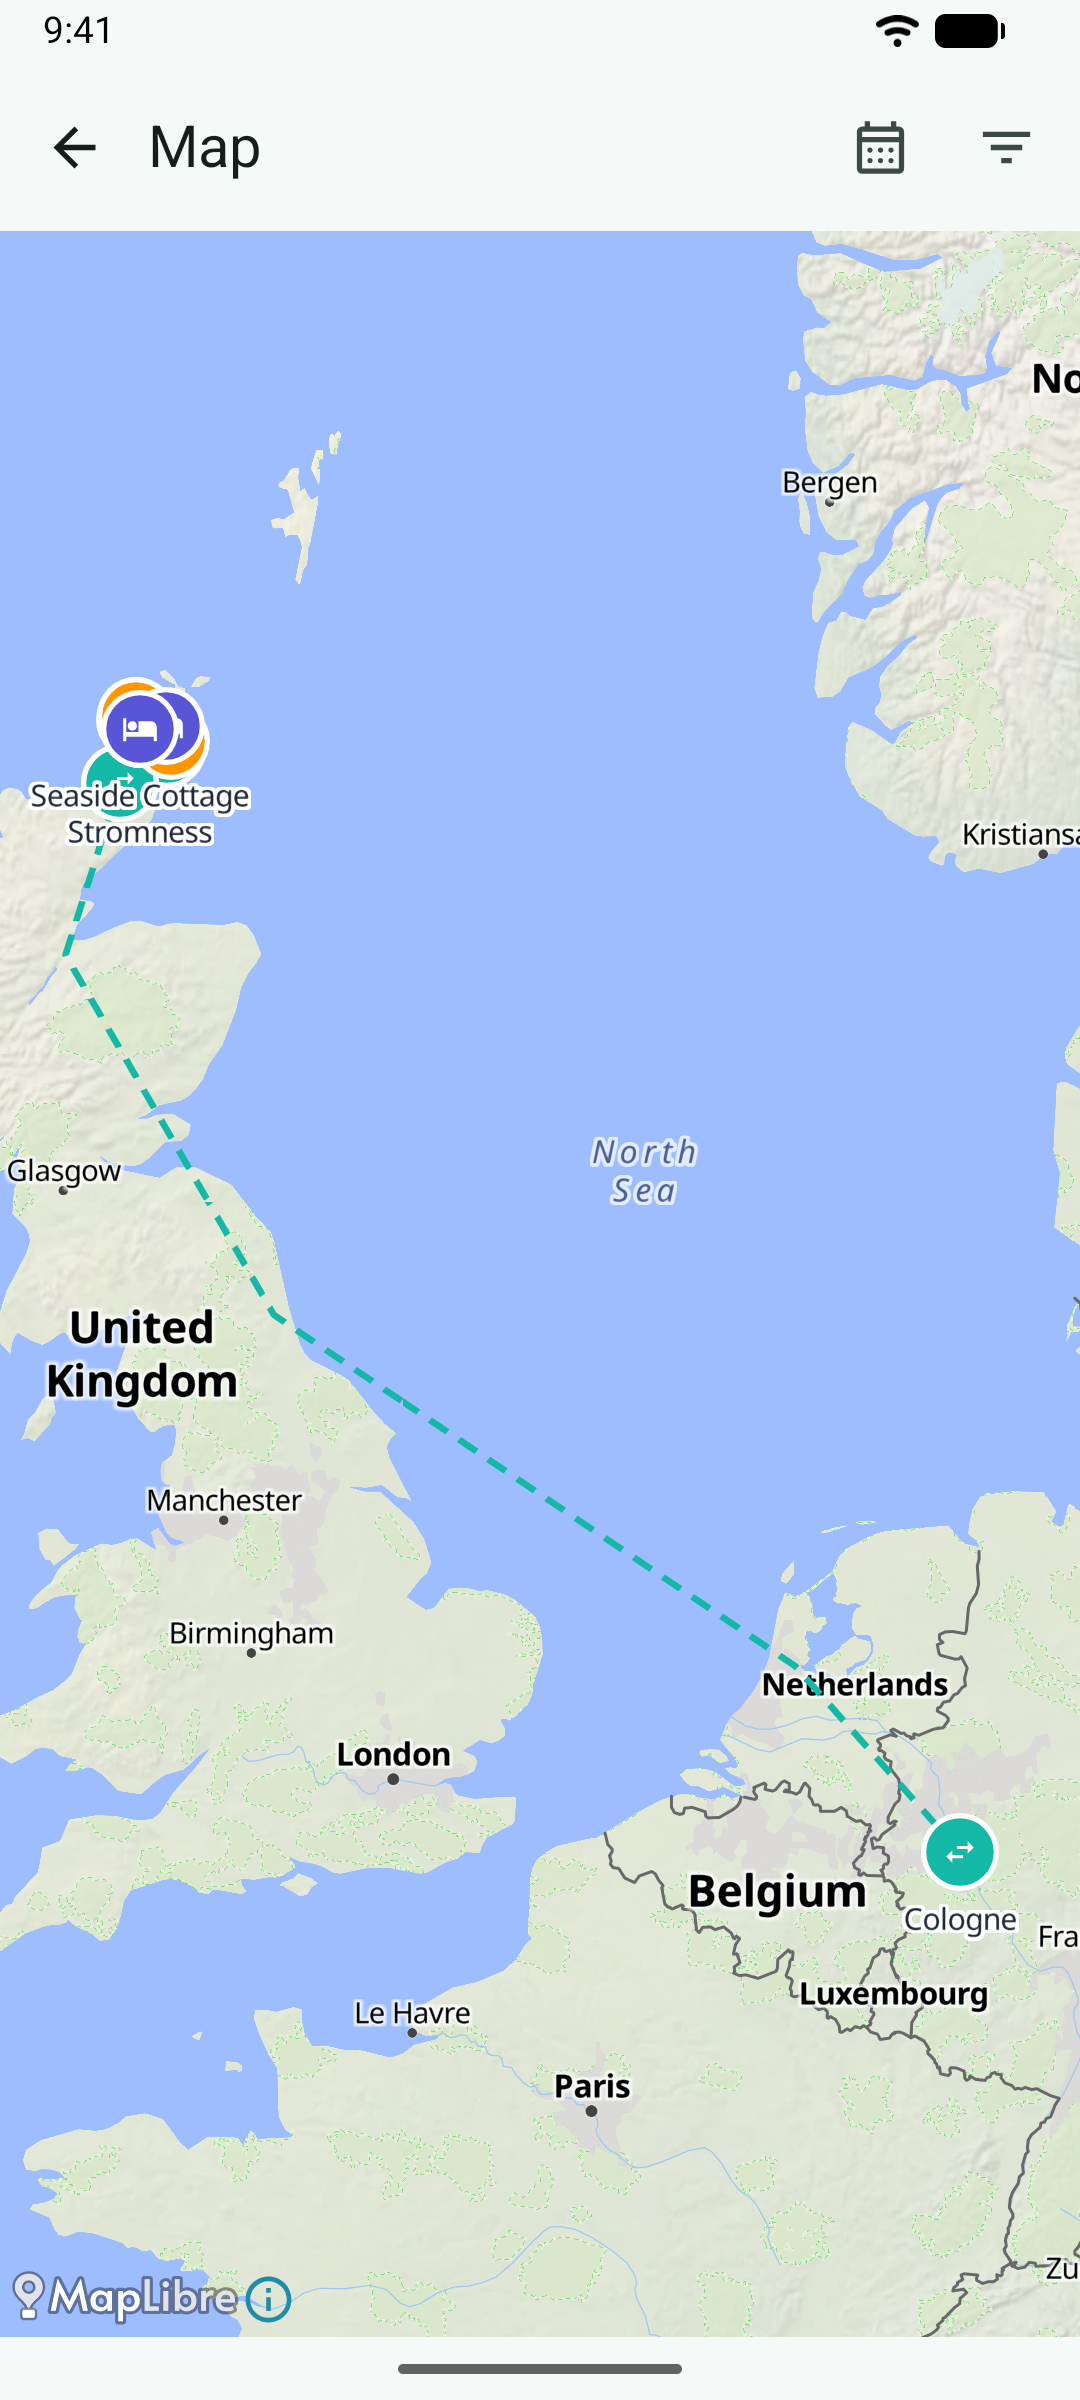
- Filter (top right): show or hide accommodations, activities, outdoor activities, journeys and journal one by one.
- Day (calendar icon): a slider at the bottom shows only the places of one day of the trip.
- Tapping a pin shows type, name and time of the entry; Open details takes you to the entry.
- Long press on the map adds a new entry at that spot.
In the main manual: Map.
5.3 Searching for places#
Wherever you pick a place – for accommodations, activities, journal and journeys – a map with a search field opens. After a short pause in typing, Etappe searches through your device’s location service (usually provided by Google); only the search text or the coordinates of the point you pick are sent. Current location puts the point where you are – after Android asks for permission. For journeys, you search start and destination right in the form with the magnifying glass.
In the offline modes “Save data” and “Fully offline” place search is off; then you set the point by hand on the map (Settings).
5.4 Where I’ve been#
Under More → Where I’ve been, a world map colors the countries you have been to: from trips with the status “Past” or “Under way” and from countries you mark by hand. A tap on a country marks it or removes the mark; your home country is shown in gold. Microstates without their own area on the map are in a separate list below. The icon at the top right shows the map full screen – turned sideways you see the most.
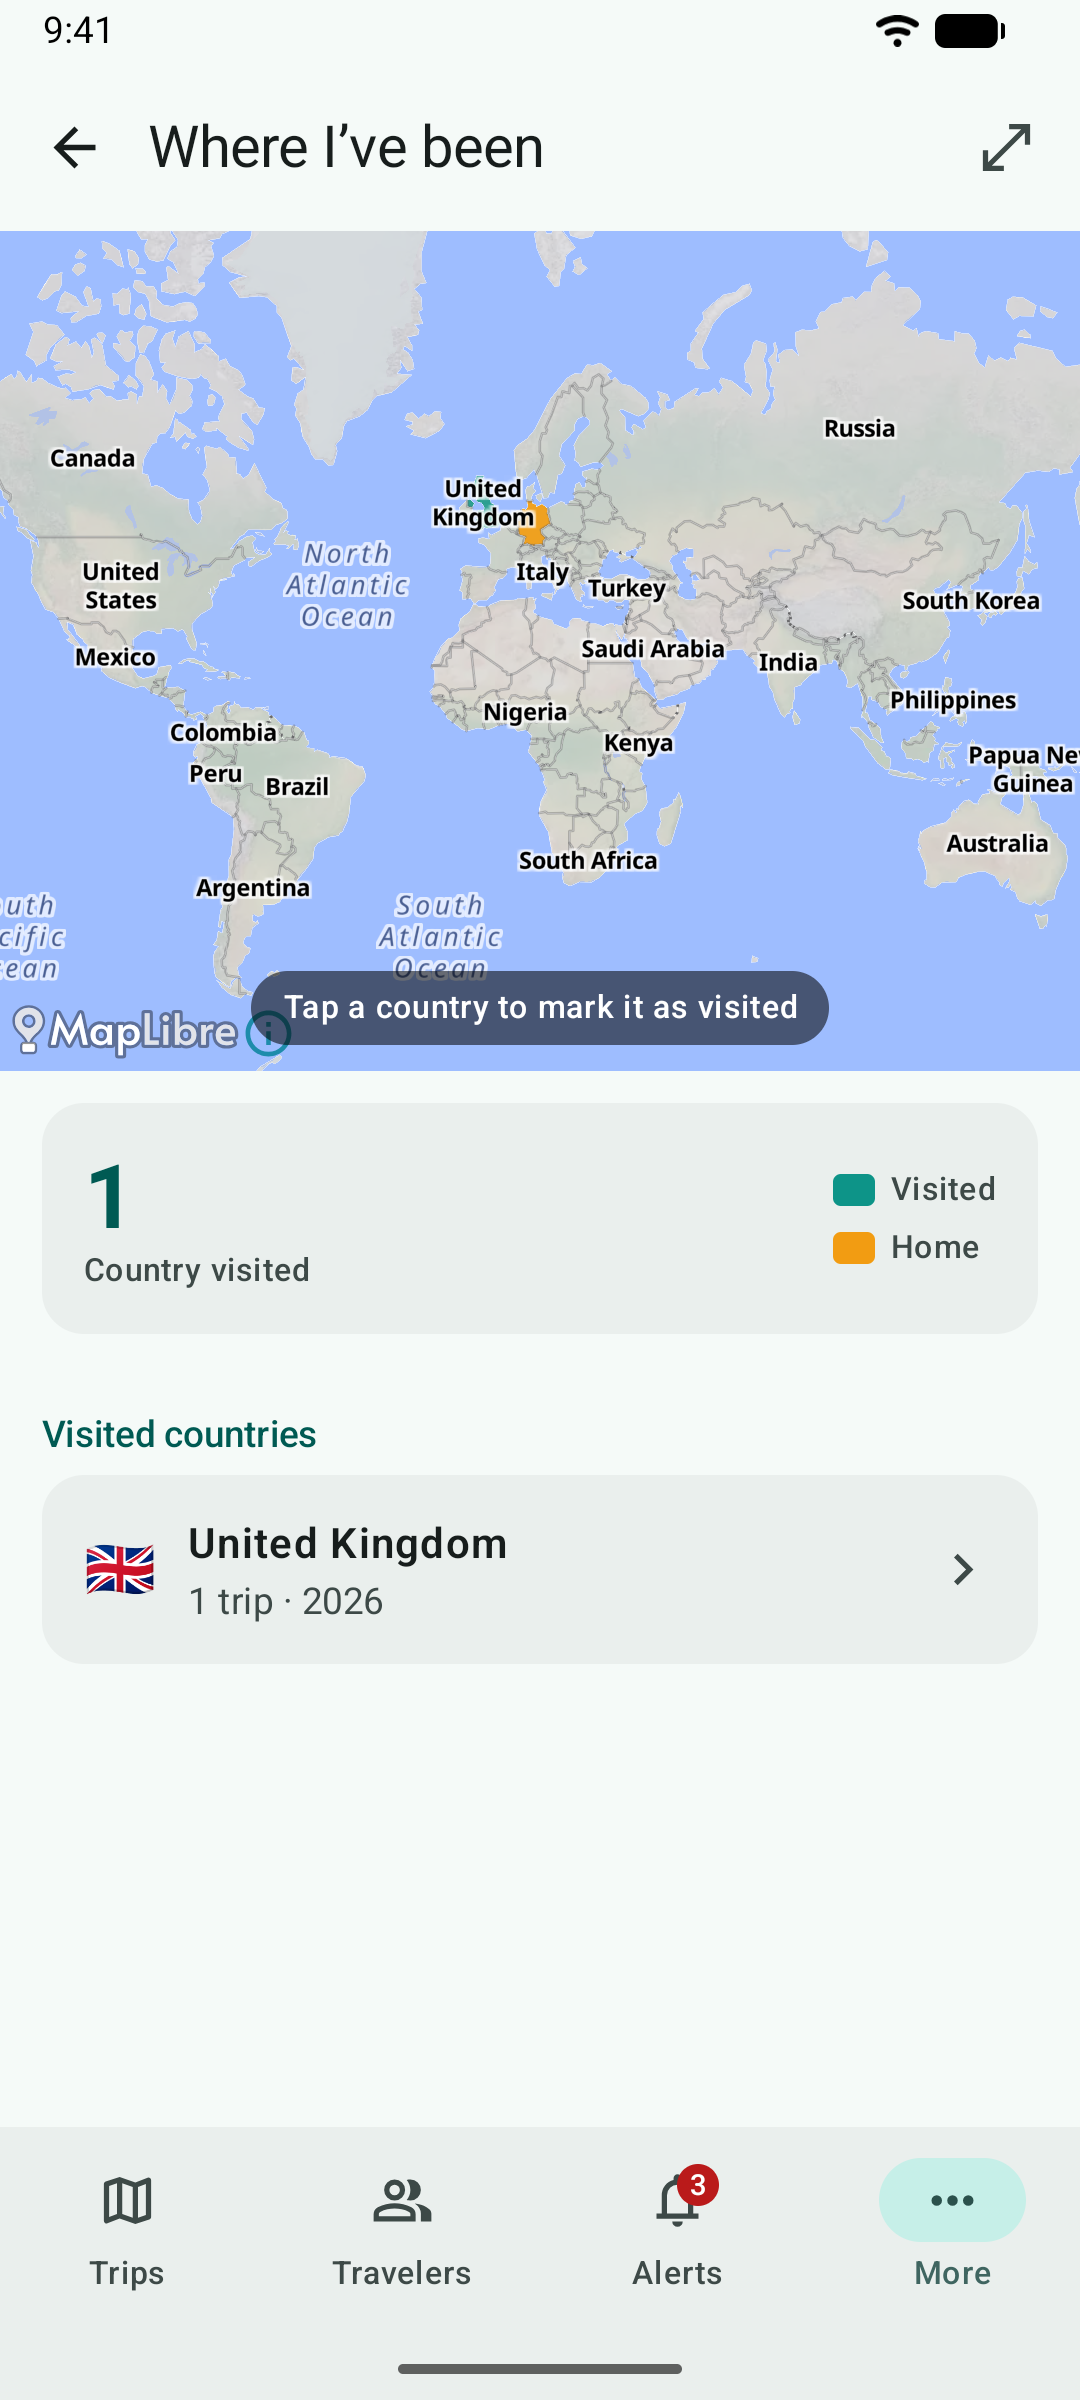
In the main manual: Where I’ve been.
6. On the road#
6.1 Recording a journey#
Open a journey and tap Start recording under Recorded route. The first time, Android asks whether Etappe may use your precise location and show notifications – allow location while using the app, and allow notifications.
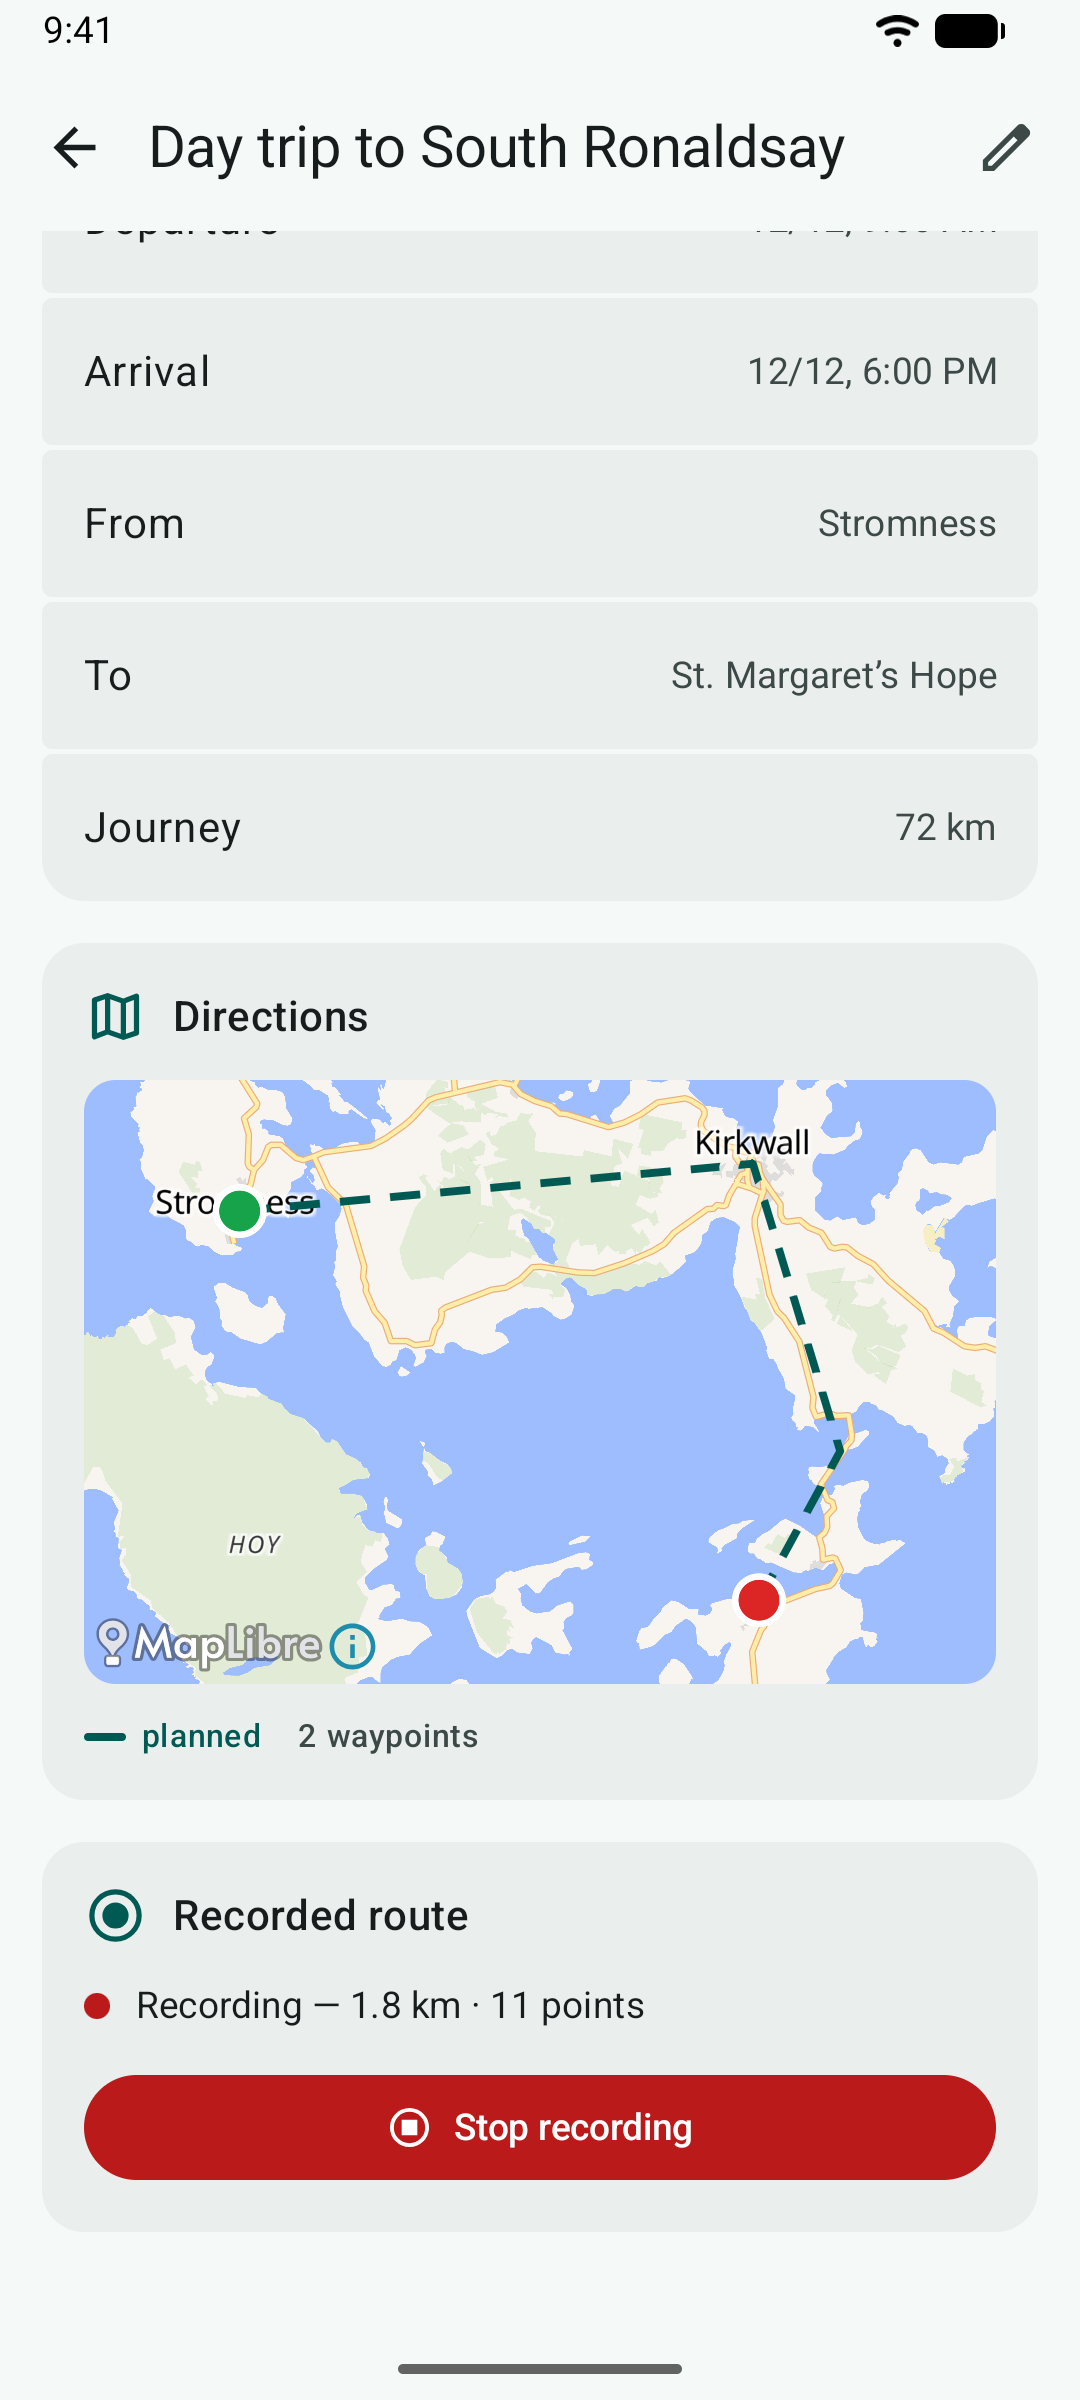
While recording, Android shows an ongoing notification Etappe is recording the route with a Stop recording button. You can turn the screen off or open another app; Etappe keeps measuring until you stop. The journey shows how far you have come and how many points are saved.
After you stop, Etappe asks whether to apply the route: kilometers and driving time go into the journey, missing start and destination points as well as departure and arrival are filled in, and on the maps the recorded route replaces the planned draft. You can still do this later with Apply route. Instead of recording, you can take over a file from another app with Import route from GPX.
The points stay on your phone. If Android closes the app during a recording, Etappe finishes the route the next time it starts. More on recorded routes in the main manual: Recording a journey.
6.2 Journal from photos#
In a trip’s journal, From photo … creates an entry from a picture. You choose the photo in Android’s photo picker; Etappe only sees the pictures you select. The entry takes the time and place the photo was taken from the photo, if it contains them – for this, Android asks once for access to photo locations.
You add more photos to an entry under Photos. In the main manual: Journal.
6.3 Notifications#
Reminders and vet appointments arrive as a notification at 9 a.m. on the day from which you want to be reminded – the due date minus the lead time. After the phone restarts, Etappe schedules them again by itself. If you don’t allow notifications, the alerts in the app stay complete anyway.
In the main manual: Reminders.
7. Sharing and exporting#
Everything Etappe puts out is created on the phone and goes through Android’s share menu wherever you send it – to an email, a messenger, Google Drive or the printer. Etappe itself uploads nothing.
7.1 A trip’s share menu#
The share icon at the top right of a trip offers:
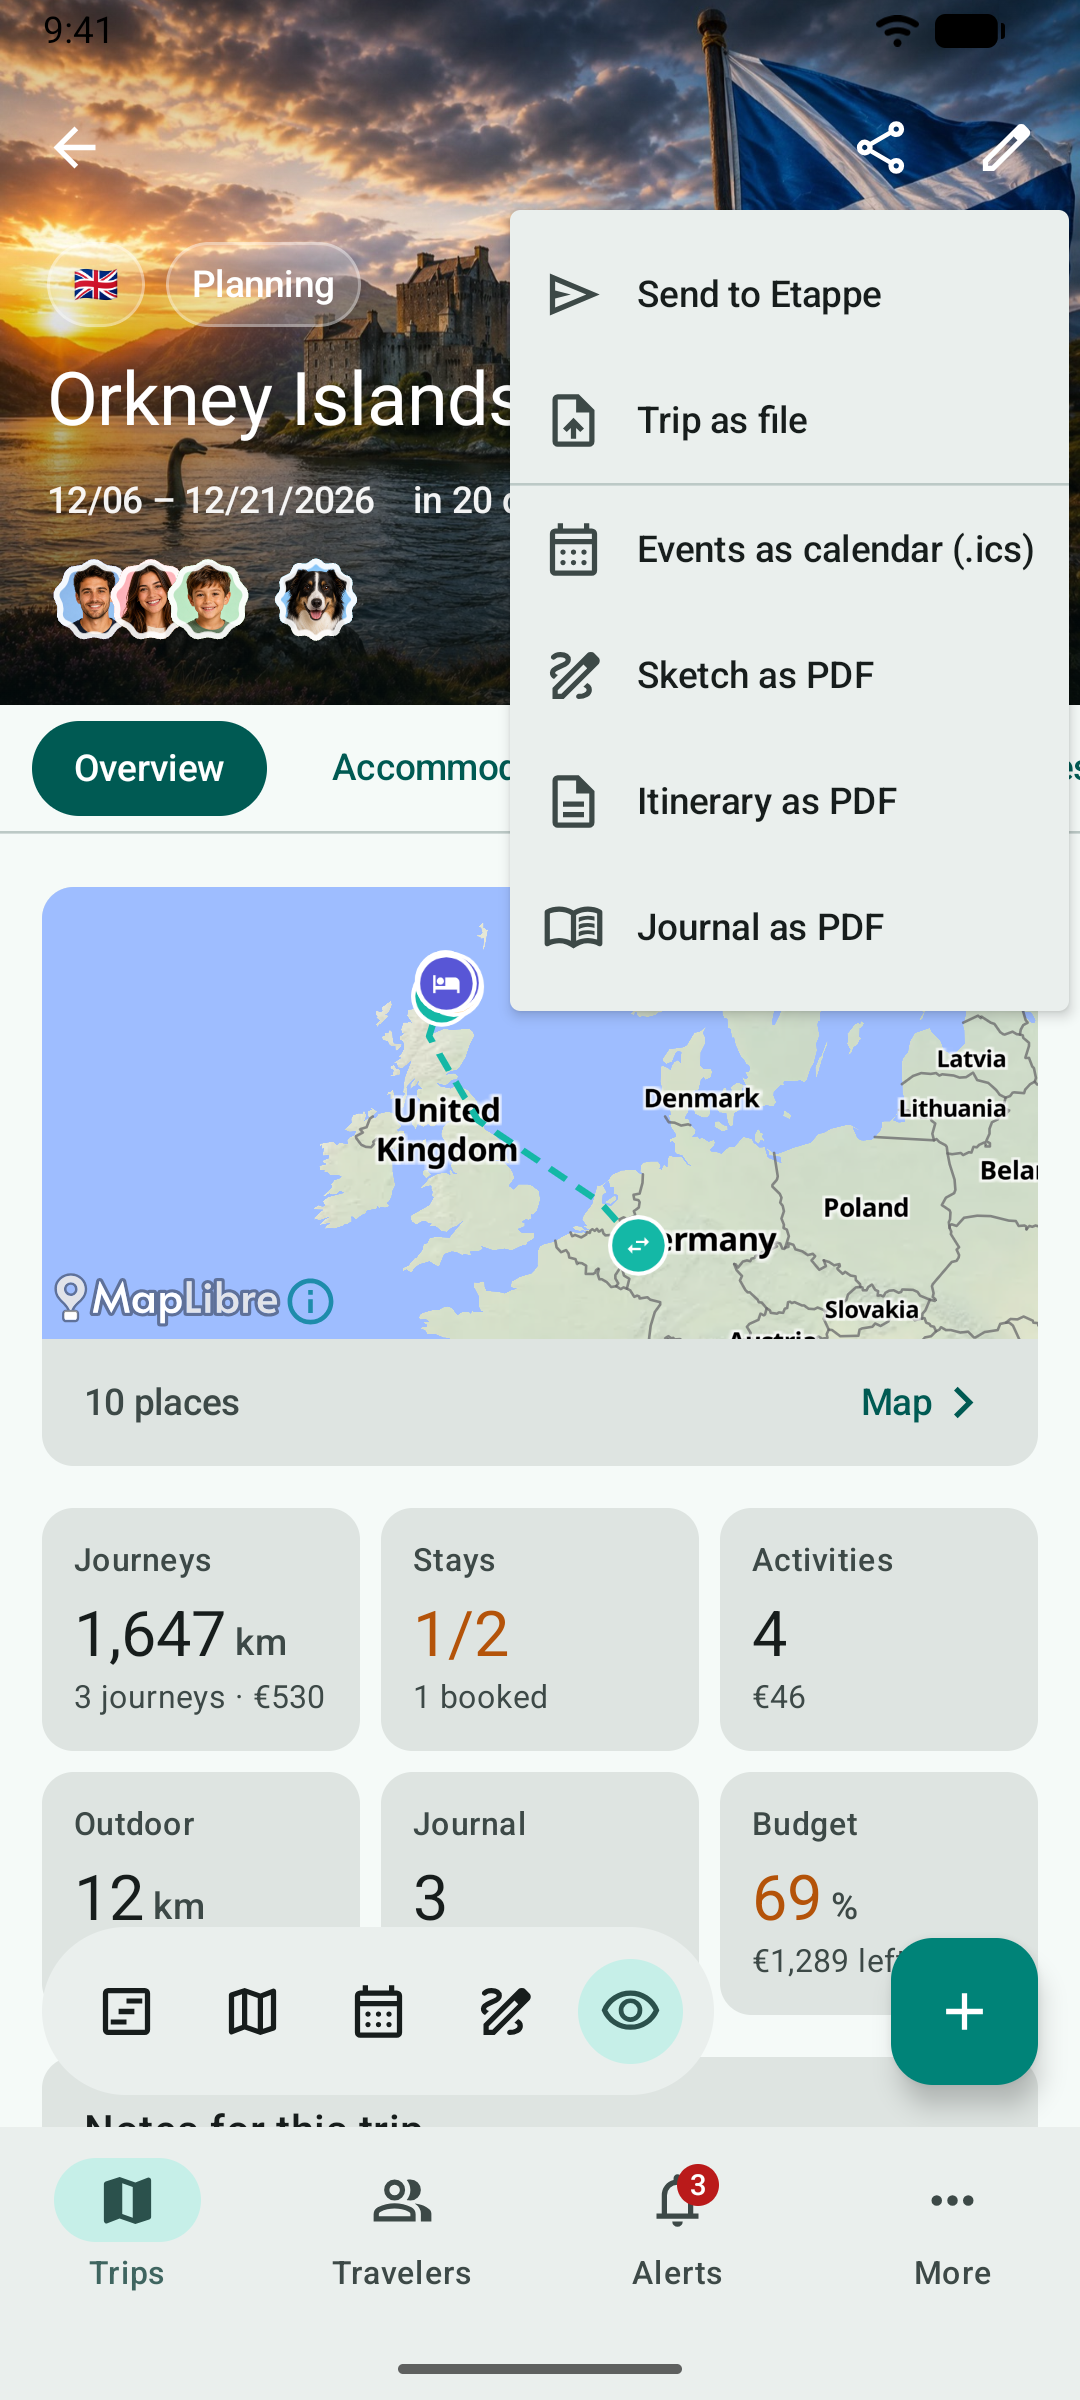
| Entry | What you get |
|---|---|
| Send to Etappe | The trip as a template for the “Load from Etappe” catalog – see below |
| Trip as file | An .etappe-reise file for travel companions or as a template |
| Events as calendar (.ics) | All of the trip’s events for any calendar app |
| Sketch as PDF | The sketch with its days and blocks |
| Itinerary as PDF | The trip’s plan, optionally with marked booking receipts |
| Journal as PDF | The journal with photos |
You share the packing list as a PDF in its own section – complete or for one person. What the PDFs contain is shown in the main manual under Exports and printouts.
You mark booking receipts for the itinerary on the documents of an accommodation, journey, activity or outdoor activity: press and hold the document and choose Mark as booking receipt.
7.2 Trip as file#
To travel companions contains the trip with all events, bookings and costs. As a template turns events into trip days (Day 1, Day 2 …); booking numbers, notes, ratings and the cover picture stay with you, places near your home are left out. What never goes along – journal, documents, budget, packing list and the travelers themselves – the app shows before creating the file.
You open a received .etappe-reise file directly from Drive, Gmail or Files (“Open with” or sharing to Etappe) or under More → Backup → Add trip from file …. Etappe shows what the file contains first and adds it as a new trip; the rest of your data stays unchanged. Etappe on Android understands trip files from the iPhone and vice versa.
7.3 Send to Etappe#
With Send to Etappe you suggest a trip for the “Load from Etappe” catalog. Etappe creates the template, you can say how you’d like to be credited, and you confirm your consent. Then your email app opens with the file attached – it is only sent from there, by you.
8. Backup and switching devices#
Etappe on Android doesn’t sync between devices. Your data lives on the phone – it is backed up through a file and, if turned on, through Android’s own backup.
8.1 Export#
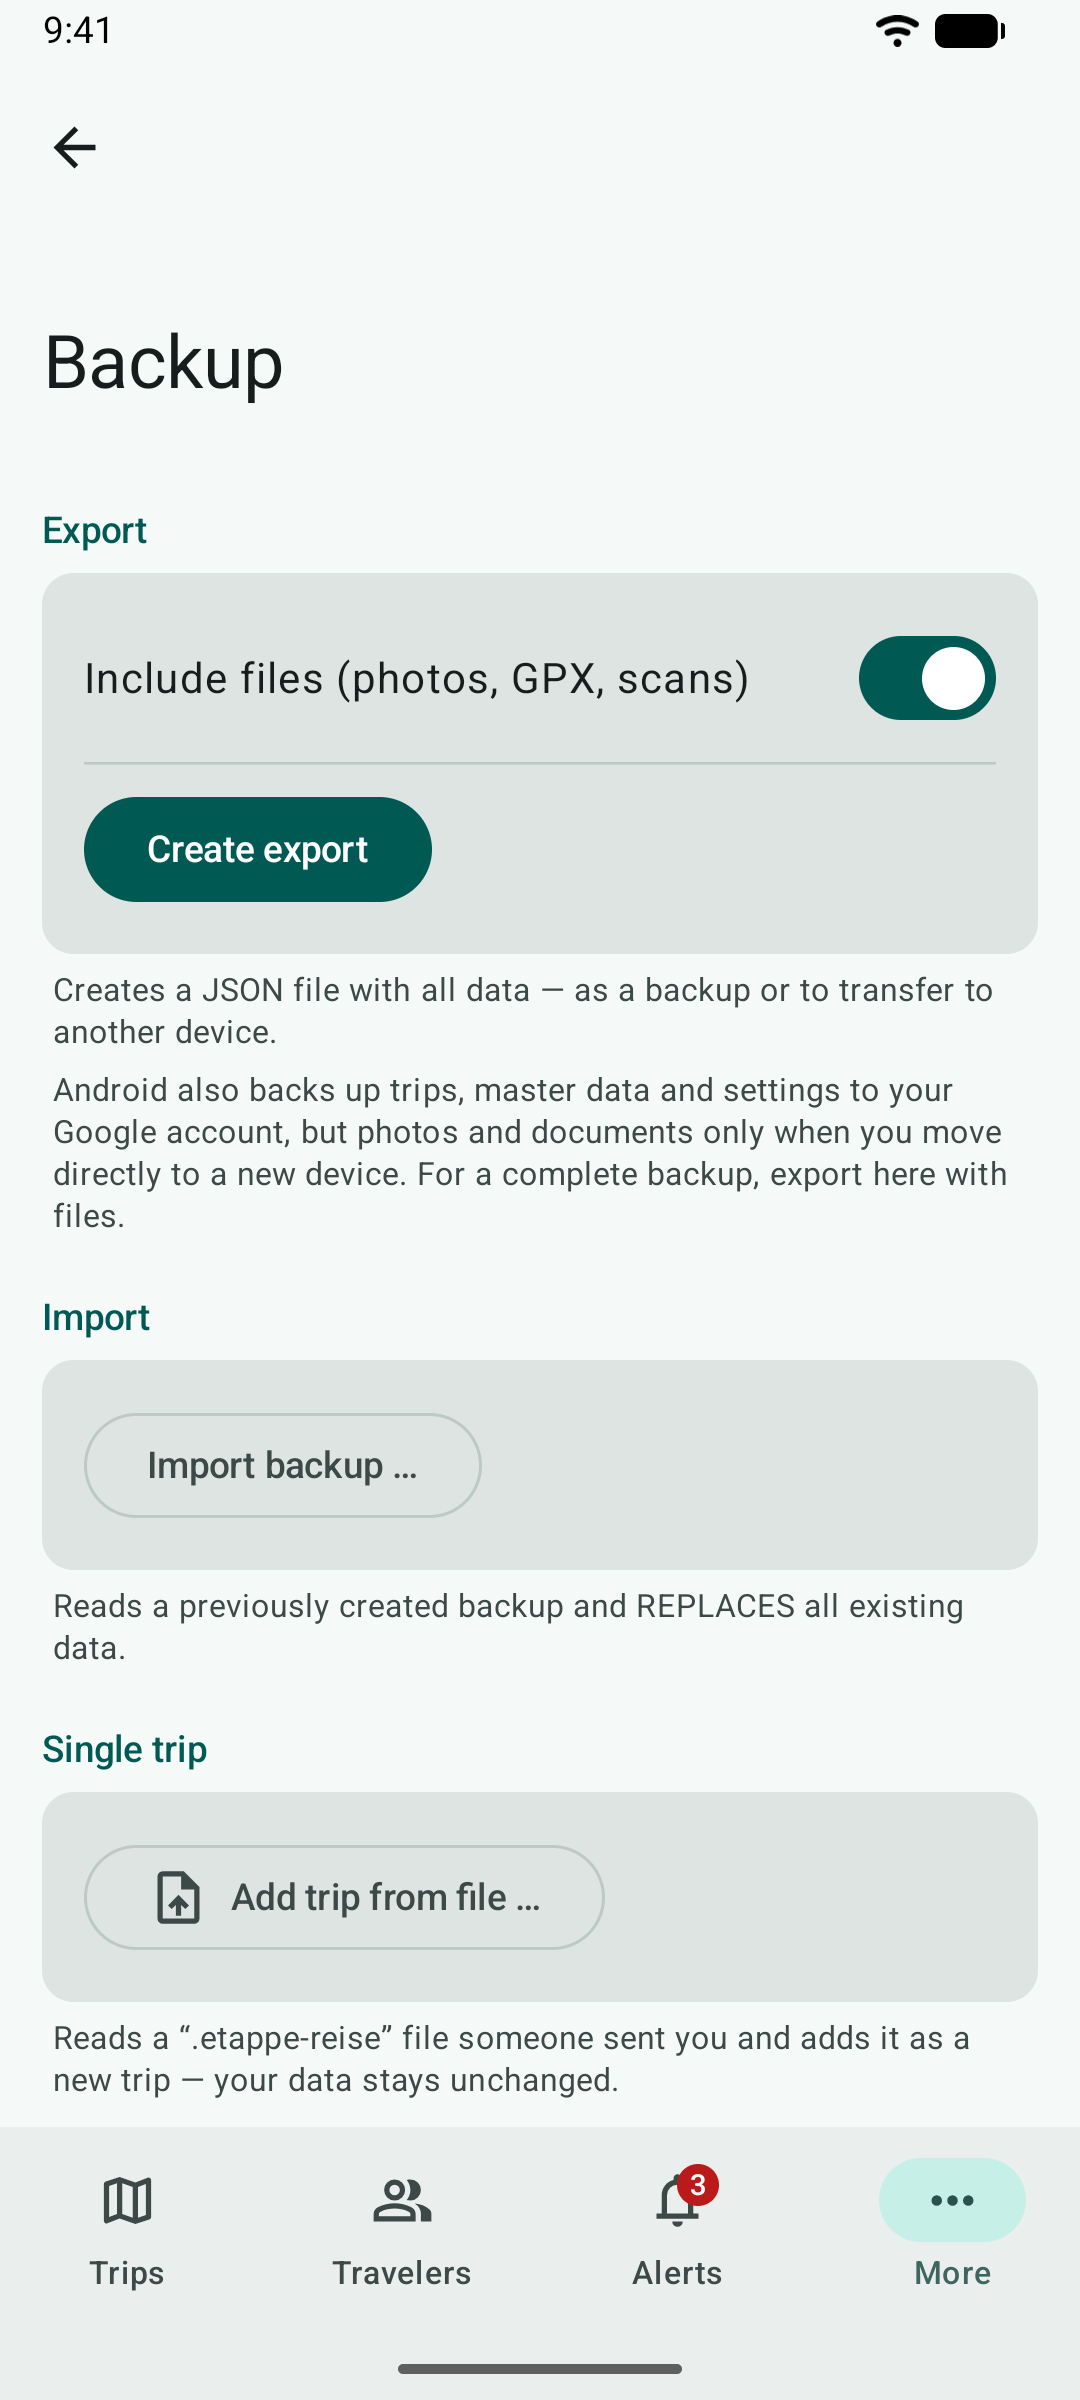
Under More → Backup, Create export creates a JSON file with all data; you choose where it goes. With Include files the photos, GPX files and scans come along – the file gets bigger but is complete. The format is the same as on iPhone and iPad (Backup).
8.2 Import#
Import backup … reads a backup and replaces all existing data – Etappe asks first. If you only want to add a single trip, use Add trip from file … (Sharing and exporting).
8.3 What Android backs up by itself#
If backup to Google is turned on on the phone, Android backs up Etappe’s trips, master data and settings to your Google account. Photos and documents are not included; they only come along when you move directly from phone to phone. The PIN of the app lock is never backed up. Etappe itself sees nothing of this backup. For a complete backup, export here with files.
8.4 Moving to a new phone#
- Android to Android: When you set up the new phone, Etappe comes along with its data through Android’s backup. To be safe, also create an export with files and import it on the new phone.
- iPhone to Android: On the iPhone, create an export with files under More → Backup, bring the file to the Android phone (for example through Google Drive) and read it in here with Import backup ….
- Android to iPhone: the same the other way round.
You bring the full version along on the same Google account with Restore Purchases (Installing, trial and purchase).
9. Settings#
The settings are under More → Settings. Most of them work as on iPhone and iPad – home country and home location, base currency and rates, time zones and military mode; the main manual describes them under All settings. This chapter covers what is different on Android.
9.1 Full version#
At the top are the trial or the full version – a tap opens the purchase – and below them Pro mode and Offline mode.
9.2 Offline mode#
| Level | What Etappe does |
|---|---|
| Off | Loads rates, countries and places when you need them |
| Save data | No requests to the internet – no rates, no countries, no place search; maps keep loading |
| Fully offline | In addition, maps only from the cache and no price request to Google Play |
While a level is on, the More tab shows an airplane – orange for “Save data”, red for “Fully offline”.
9.3 App lock#
Set up PIN protects Etappe with a four-digit code. The app locks at launch and when you leave it. You can also unlock with fingerprint or face if your phone supports it. The PIN is kept on the phone only as a check value; the key for it never leaves Android’s secure storage. More in the main manual under App lock.
9.4 Display and language#
Appearance follows the phone or is fixed to light or dark; Colors from wallpaper takes on the colors of your wallpaper. From Android 13 on, you set Etappe’s language in Android’s settings: Apps → Etappe → Language. Without your own choice, Etappe follows the phone’s language.
9.5 Help and About this app#
Under More → Help you find the getting-started setup, the little helpers, links to this manual and to the website, and Legal: which data goes where for maps, place search, countries, rates and purchase, and the licenses of the open-source libraries Etappe for Android is built on. More → About this app shows version and build, legal notice and privacy policy.
10. Only on iPhone and iPad#
Etappe for Android can do almost everything Etappe on iPhone and iPad can. Some features depend on Apple services or devices and are therefore missing on Android.
| Feature | On iPhone and iPad | On Android |
|---|---|---|
| Sync between devices | Through iCloud (iCloud sync) | Not available. Moving and exchanging through the backup (Backup and switching devices) |
| Family Sharing | The purchase counts for the family | Not available; the purchase belongs to the Google account |
| Apple Watch | “Today” and calendar of the current trip (Apple Watch) | Not available |
| Quick actions | From the Home Screen (Quick actions) | Not available |
| Overview of all trips | All trips on one screen (Overview) | Not available; the next trip is at the top of Trips, deadlines are under Alerts |
| Storage and files | Storage per trip with cleanup (Storage and files) | Not available |
| Camera | Scan an ID, take a photo | Photos and documents through Android’s photo picker and Files |
| Maps | Apple Maps | OpenStreetMap via OpenFreeMap (Maps and places) |
| Purchase | App Store | Google Play – a purchase only counts in its own store |