23. Documents and receipts#
A trip comes with paperwork: the booking confirmation for the vacation home, the ferry ticket, the rental car invoice, the insurance certificate. In Etappe, none of that sits in a catch-all folder — it is attached directly to the thing it belongs to, and marked booking receipts can be carried over into the printed itinerary if you want.
23.1 Attaching a file or photo#
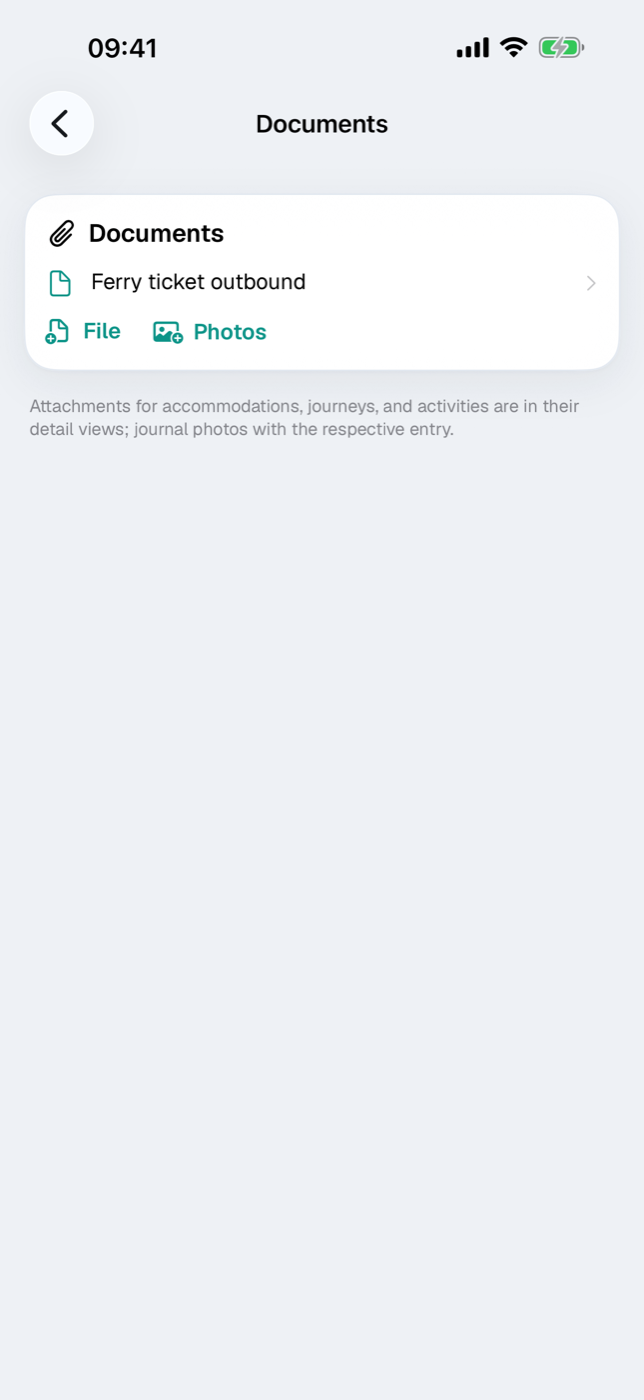
Wherever attachments are possible, you’ll find a Documents card with a paperclip icon and two buttons below it: File and Photos.
- Tap File to pick a document from the Files app. PDFs and images are allowed, several at once.
- Or tap Photos and choose images from your photo library.
- The attachment appears immediately as a row with its name and file size.
| Method | What goes in | Limits |
|---|---|---|
| File | PDF and image files | max. 50 MB per file, multiple selection possible |
| Photos | Images from the Photos app | max. 5 images per selection |
Photos are automatically downsized when attached (longest edge 2,000 pixels) and stored as JPEG — that saves a lot of space without making a ticket or an invoice unreadable. Files keep their name; photos get names like foto-1.jpg.
If a file is too large, a red note appears below the buttons with the file name, size and limit; the other selected files are still added.
Adding attachments counts as editing and therefore requires the trial or the full version (Trial and full version).
23.2 Scanning paper documents#
Etappe doesn’t bring its own scanner — that’s what the built-in tools of iOS are for. Photograph the document with the Camera app and then attach it via Photos. If you’d rather have a multi-page PDF, scan it with the iOS scan feature, save it in the Files app and bring it into the trip via File.
Two special cases have their own fields instead of the Documents card: ID documents of people and pets, and vehicle documents. Each of these has a Scan / photo section (one image of the document) and a File (PDF) section — described in People, Pets and Vehicles.
23.3 Preview and delete#
Tapping the row opens the iOS system preview: PDFs can be paged through, images zoomed. The preview file is only created temporarily, is readable only while the device is unlocked, and is cleaned up again the next time the app starts.
Press and hold a row and the context menu appears with Delete. The attachment disappears immediately, without confirmation — there is no trash.
Renaming attachments isn’t provided for; if the name matters to you, rename the file before attaching it.
If you delete the object an attachment hangs on — an accommodation, a journey, a whole trip — its documents are deleted along with it.
23.4 Marking a document as a booking receipt#
Press and hold an attachment and choose Mark as booking receipt. The row then carries the label “Booking receipt” with a seal icon; via the same menu you take the mark back with Remove booking receipt mark.
The mark exists only on the four planning blocks: accommodations, journeys, activities and outdoor activities. On trip documents, attachments in the records or journal photos, the menu item is missing.
The mark takes effect in the itinerary: in the trip’s Share menu, open Itinerary as PDF. If there are marked receipts, the Attach booking receipts switch appears with their number in parentheses. Turn it on, and each receipt lands right after the day page its booking belongs to.
| Receipt attached to | It lands after the day of |
|---|---|
| Accommodation | Check-in |
| Journey | Departure |
| Activity | Start |
| Outdoor activity | Date of the entry |
Receipts without a usable date — or ones whose day falls outside the trip period — are collected at the end, announced by a divider page “More booking receipts”. PDFs are taken over with all their pages, images as one page each. Receipts without file content are skipped.
More on the itinerary and the other output formats is in Exports and printouts.
23.5 Where documents can be attached#
You’ll find the Documents card in these places:
- Trip — in the “Documents” section, for documents concerning the whole trip
- Accommodation (Accommodations)
- Journey (Journeys)
- Activity (Activities)
- Outdoor activities (Outdoor activities)
- Research (Research) — when you turn it into an entry, the attachments move along to the entry that is created
- Budget item (Budget) — here the receipts card sits in the item’s edit mode
- Person, Pet and Vehicle in the records
There are also two special routes: journal entries collect their memory photos themselves (Journal), and ID documents and vehicle documents carry scan and file directly in their form.
As a rule of thumb: attach the document as close as possible to what it’s for. The booking confirmation belongs on the accommodation, not on the trip — only then can it later appear as a receipt in the right place in the PDF.
23.6 The trip’s documents overview#
The trip’s Documents section deliberately shows only the documents attached directly to the trip: insurance, travel health insurance certificate, general booking papers. Attachments of accommodations, journeys and activities stay in their detail views, journal photos with their entry — a note below the card reminds you of that.
How much space all of this takes up and how to tidy up if needed is in Storage and files. The files only go into the backup if you enable “Include files” when exporting (Backup).